Installing R, Rstudio, and JAMOVI in Chrome OS
Introduction
This is a guide to install \(R\), Rstudio, and JAMOVI in your Chromebook. At this point you probably never thought it was possible to install any software outside the Google ecosystem. Butu, it is possible and useful to make your Chromebook to work more like local laptop instead of a cloud computer. However, this tutorial will requiere to know a little bit about the operated system named Linux. I hope you have heard about it in your life, but most likely you don’t know anything about it, and that’s acceptable in this course. We are here to learn new things!
Linux is an open-source and free operated system, in fact, Linux is the name of the core of the operated system called “kernel”. Thanks to this kernel created by Linus Torvalds, there are multiple different operated systems that have been developed using the Linux kernel. Commonly, all these multiple versions are called “Linux distros”. In your Chromebook you will run \(R\) and JAMOVI in a virtualization of Linux inside your Chromebook. It is similar to have a computer inside another computer, but the guest computer runs on the same hardware as the host.
In the case of your Chromebook you will activate the developer mode, this mode will help you to install and run Linux in your computer. Google has made this process very easy for Chromebook users.
Let’s start this tutorial
Install and activate Linux
Step 1
The very first step is always update your Chrome OS installation. Make sure you have updated your operated system to the last version so far. I trust you know how to update the operated system in your Chromebook.
Step 2
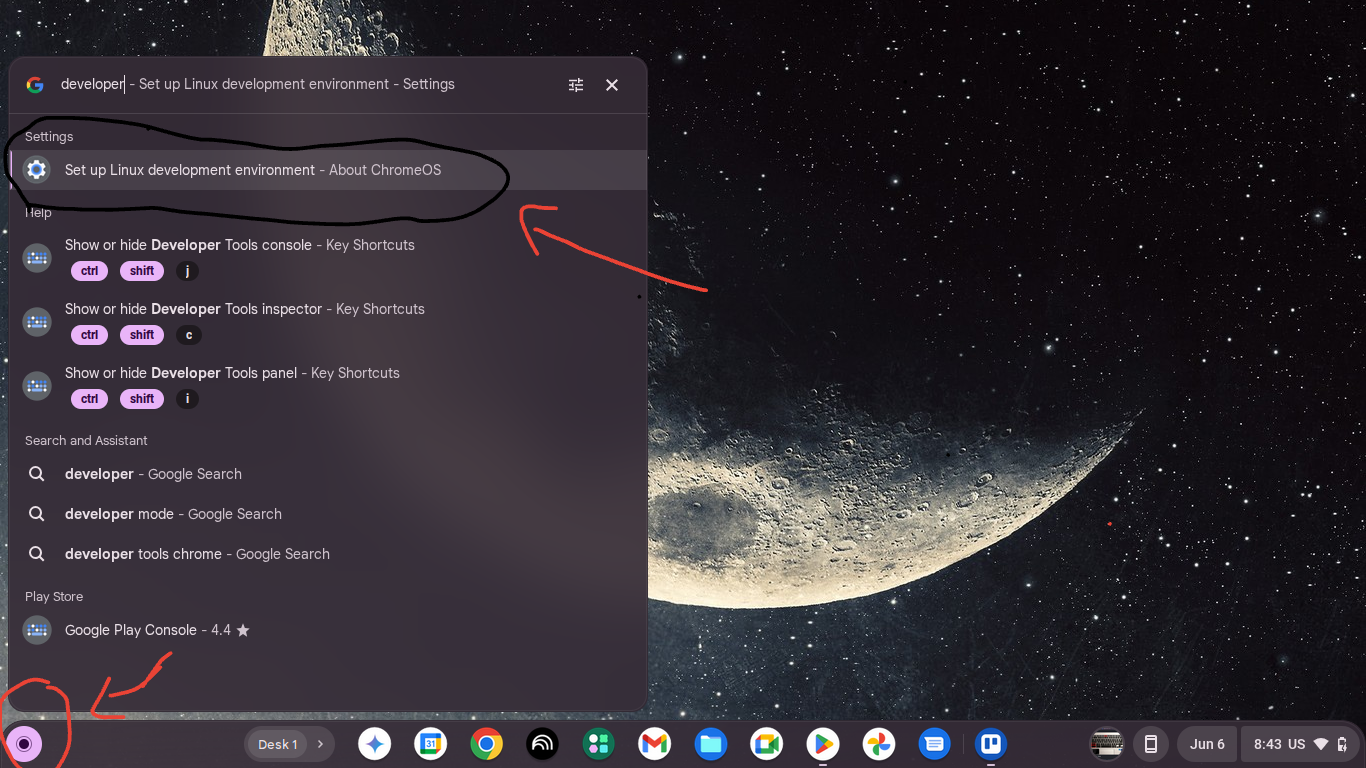
You will need to find the option called “Set up Linux development environment”, you can type “development” in the menu search bar, and you will see it most likely as your first option. See Figure 1.
Step 3
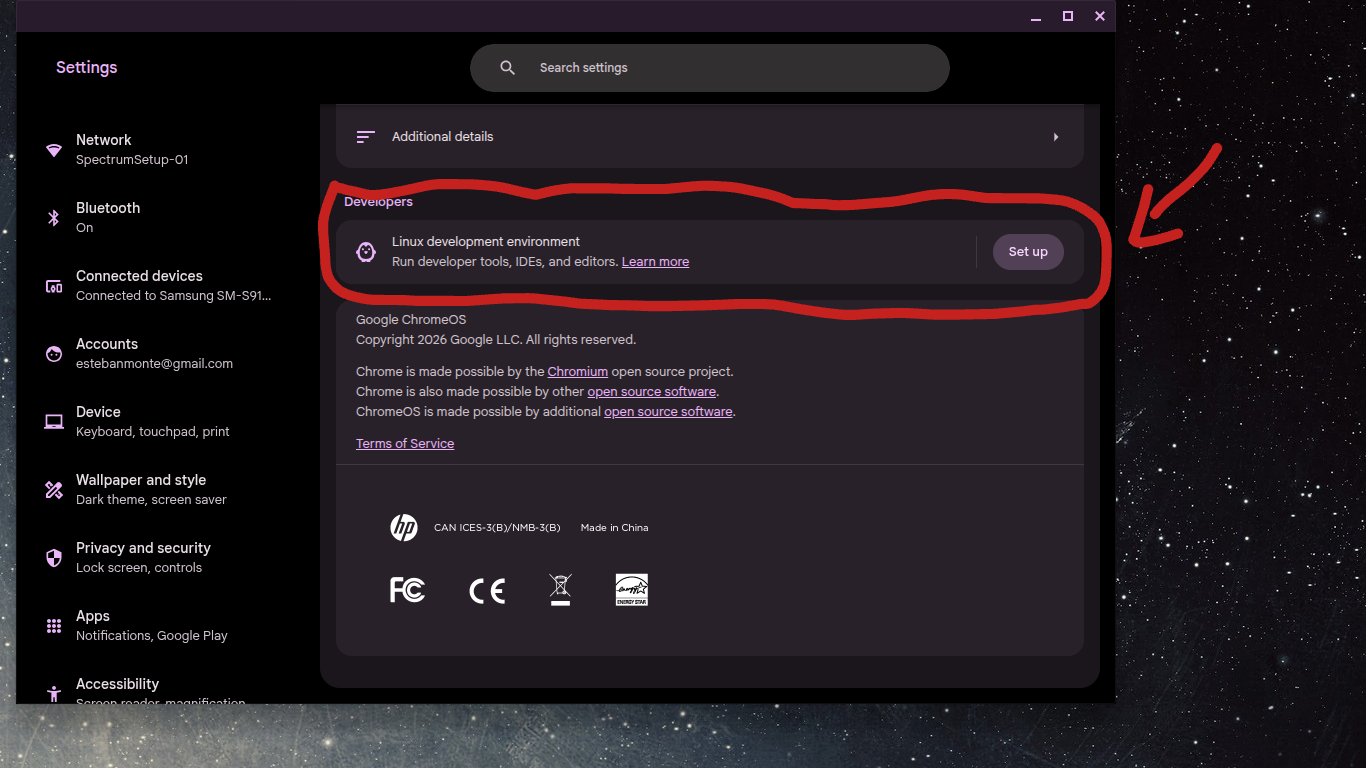
Click on the option “Set up” as shown in Figure 2. This will start the process of activating your Linux environment.
Step 4
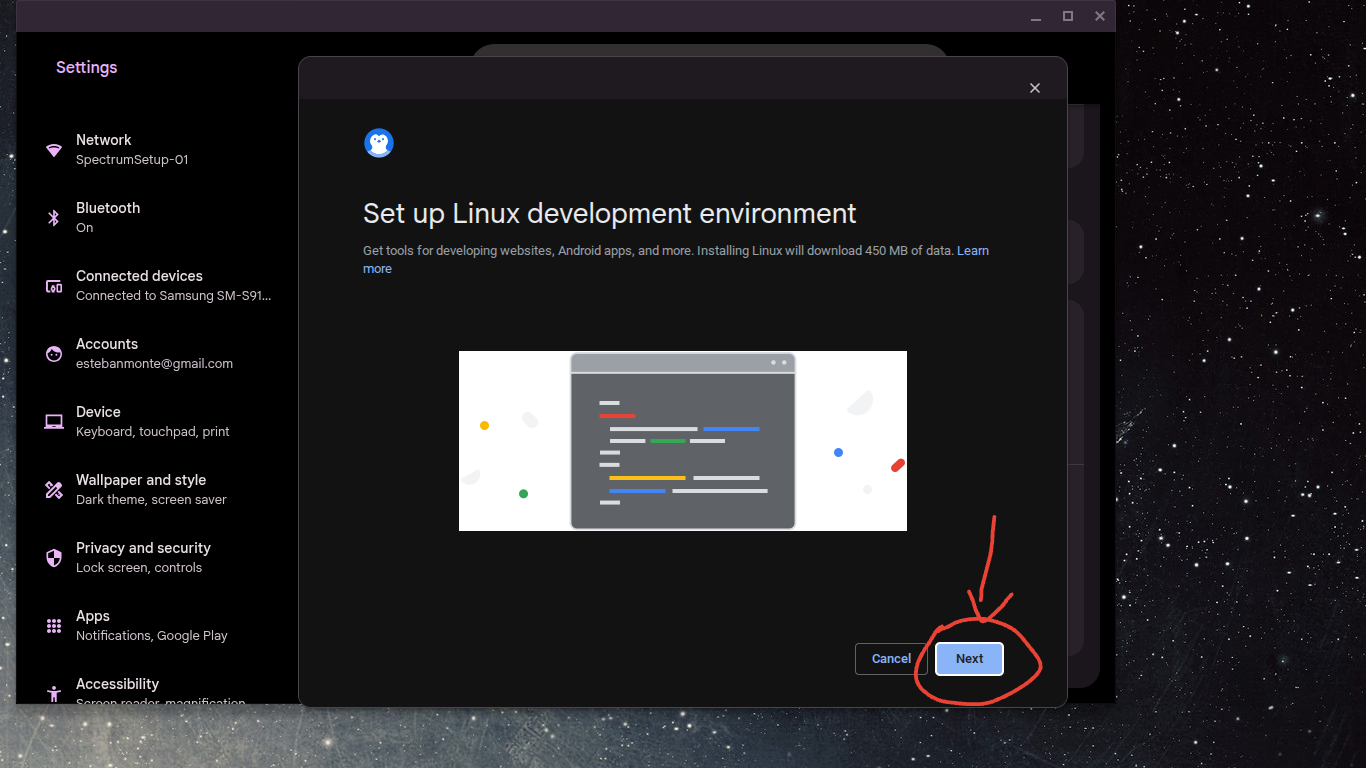
You will see another window where you will click “Next”. See Figure 3.
Step 5
In this step you can select an username, I usually keep the user name suggested by default, but you could change it if you will, this won’t affect any installation in the future.
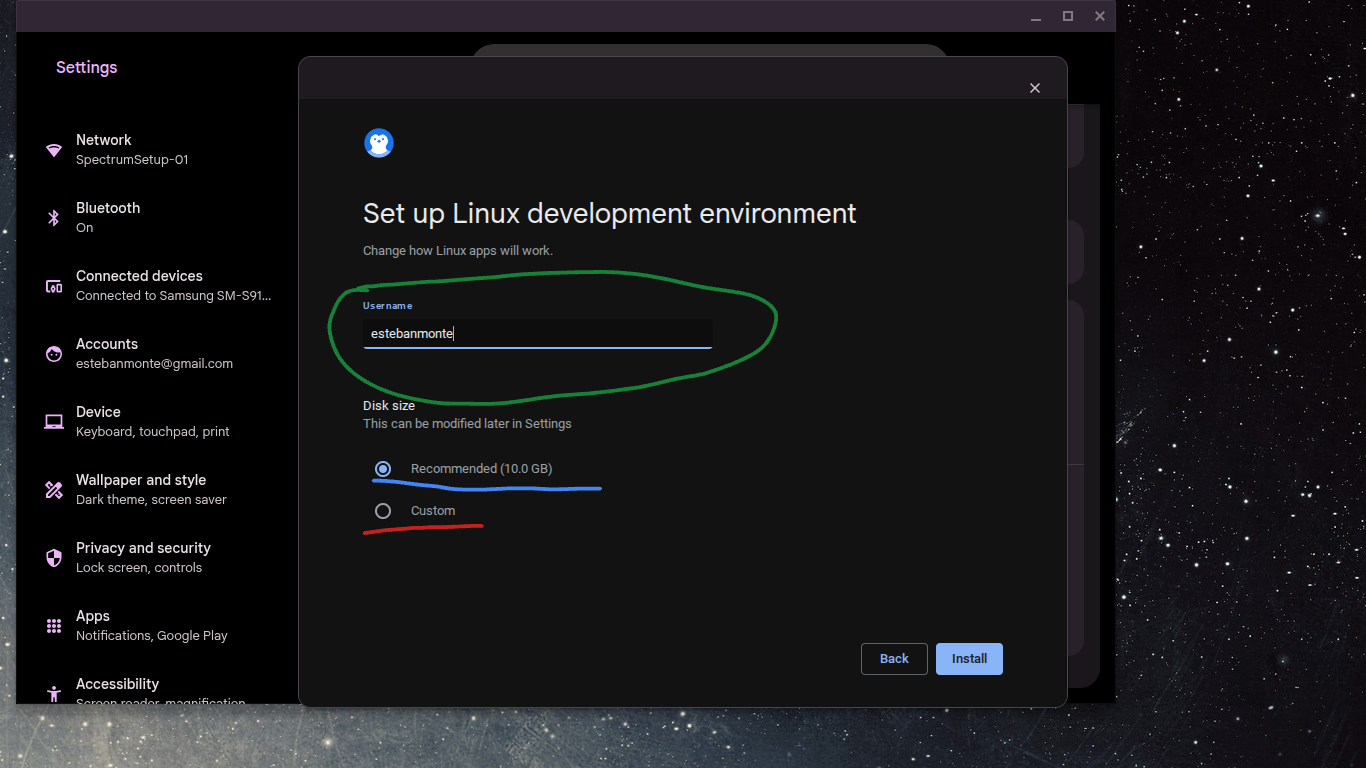
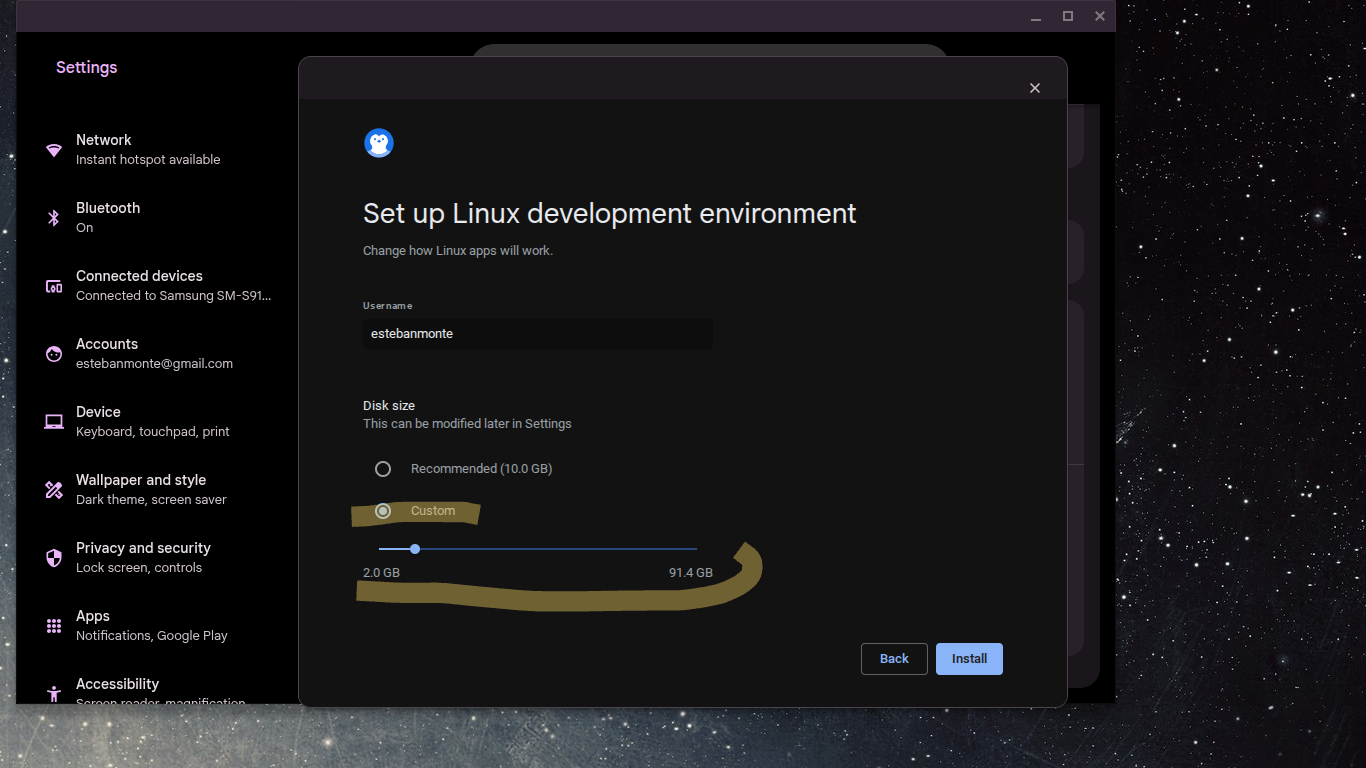
The most important part in this step is the “Disk size”. Remember that I mentioned that you will be running a computer inside your computer, this means the guest computer needs actual space in your computer to be able to run. I advise you to click on “Custom”, then as shown in Figure 5, you will see a slide bar where you can select the size of your virtual machine, I advise to move it up to 16 GB, because we will need to install a lot of new Linux libraries and Jamovi is a big software.
Once you are ready to continue, click “Install”.
Step 6
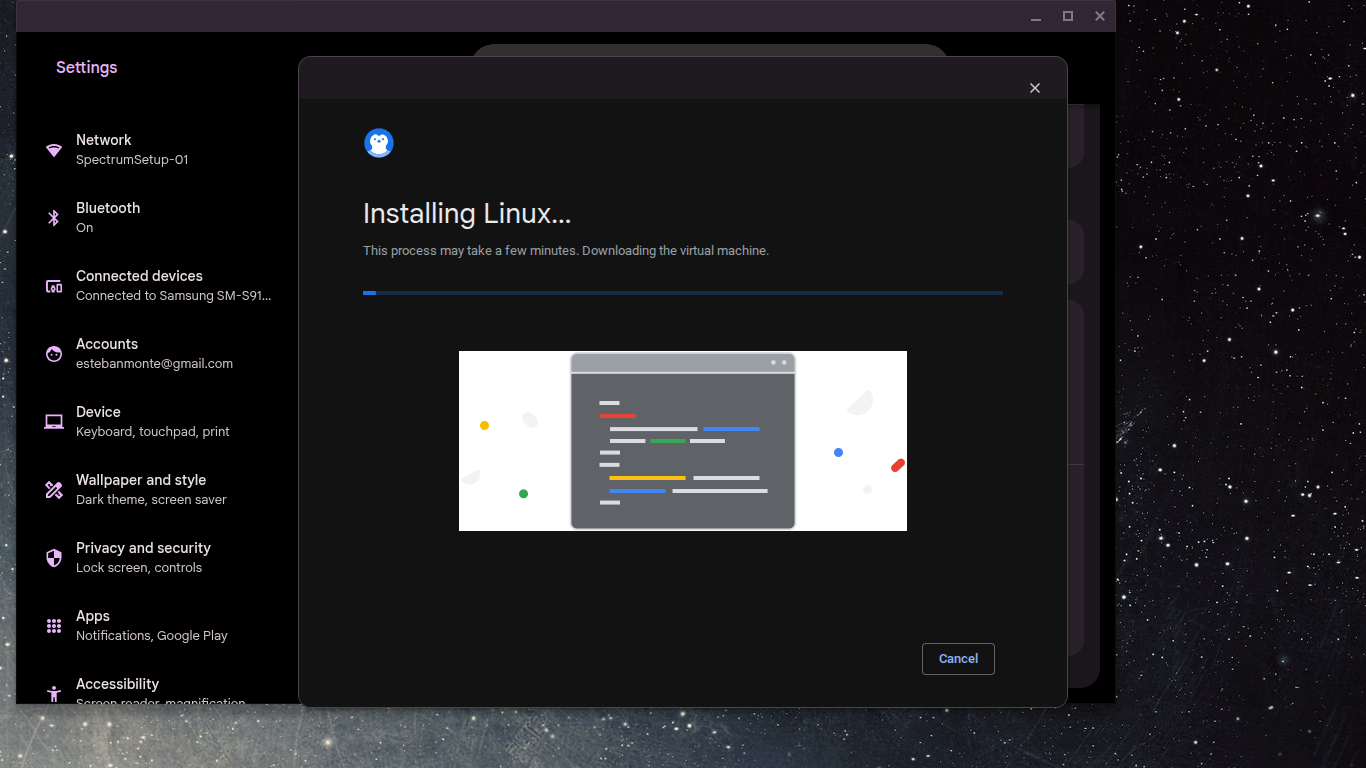
You will see now a new window with a status bar that says “Installing Linux” don’t press any key, just wait until the installation is done.
Step 7
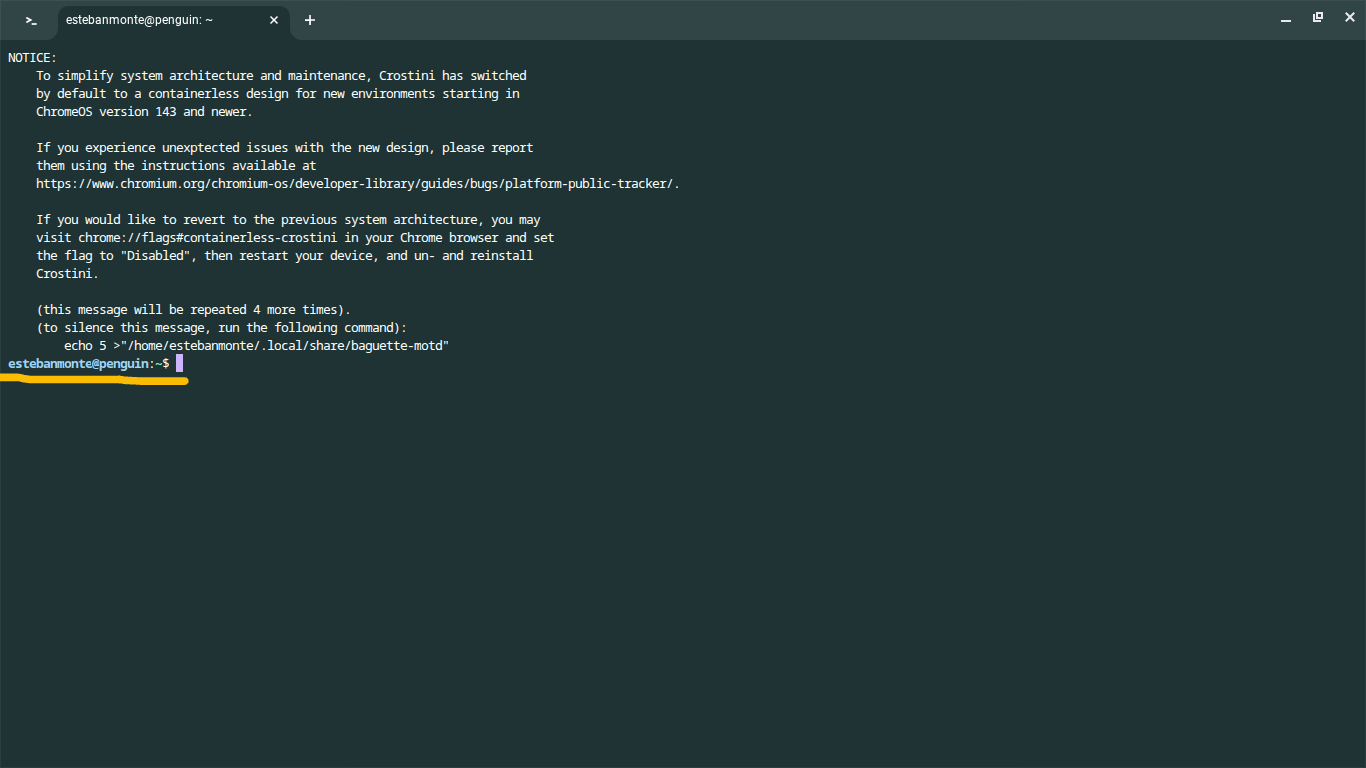
After the installation is done, a new window will pop up. It is something called terminal. It is the place where you will type your commands to install new software that does not belong to Google’s environment. You will see a prompt with an username@penguin, penguin is Linux, and the user name is the name you typed or kept in Step 5.
If the terminal does not appear automatically, you can search “terminal” in the apps menu as we did in Step 2, and then click on “terminal”. See Figure 7.
Step 8
Linux is already installed, but we need to update the operated system. But, I haven’t mentioned the name of the operated system. Google by default offers now Debian 13 which is named “Trixie”. If your Chrome OS is not updated, you will get Debian 12 “Bookworm”. If this happens, some of the commands I will show in this tutorial will not work in Debian 12.
We will type in the terminal:
sudo apt updateThis command will help you to update the communication with the repositories. See Figure 8.
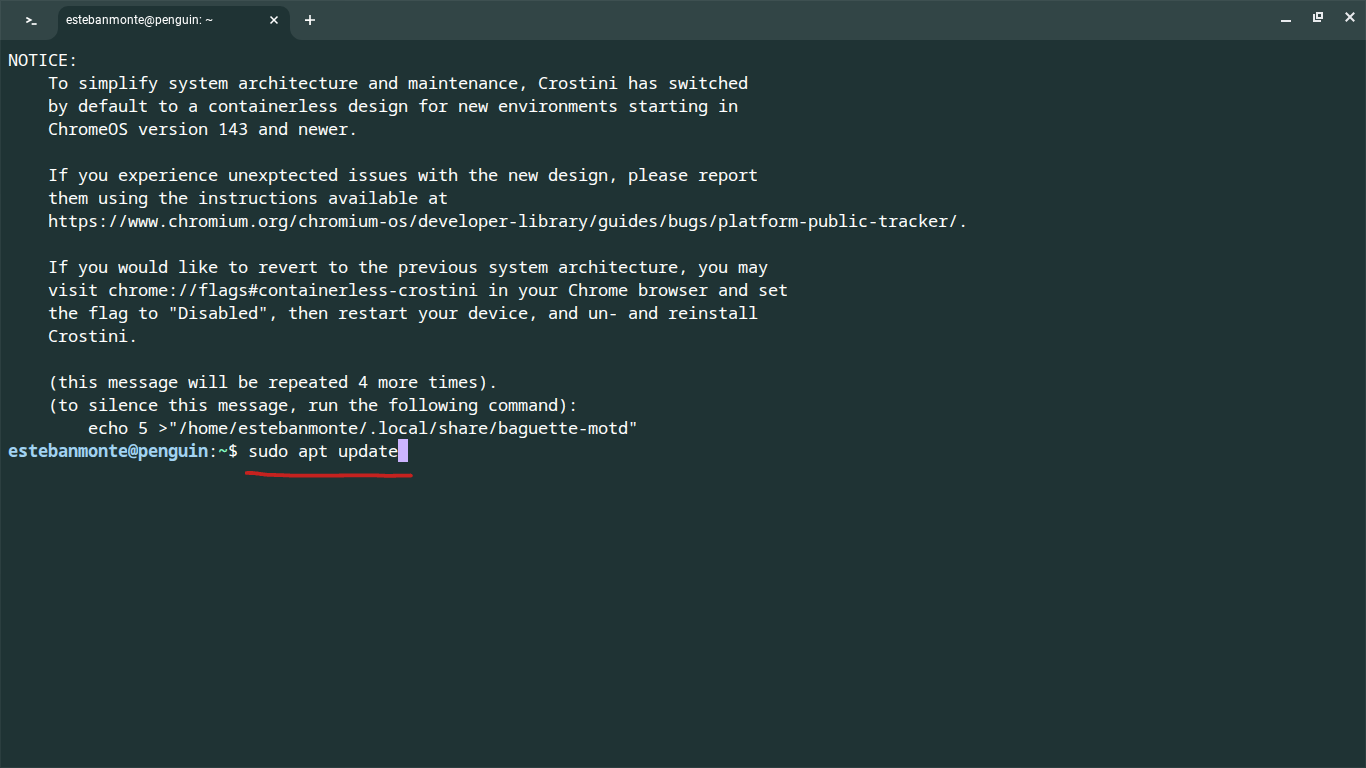
After typing the command PRESS ENTER. Then, you will see something similar to this screenshot:
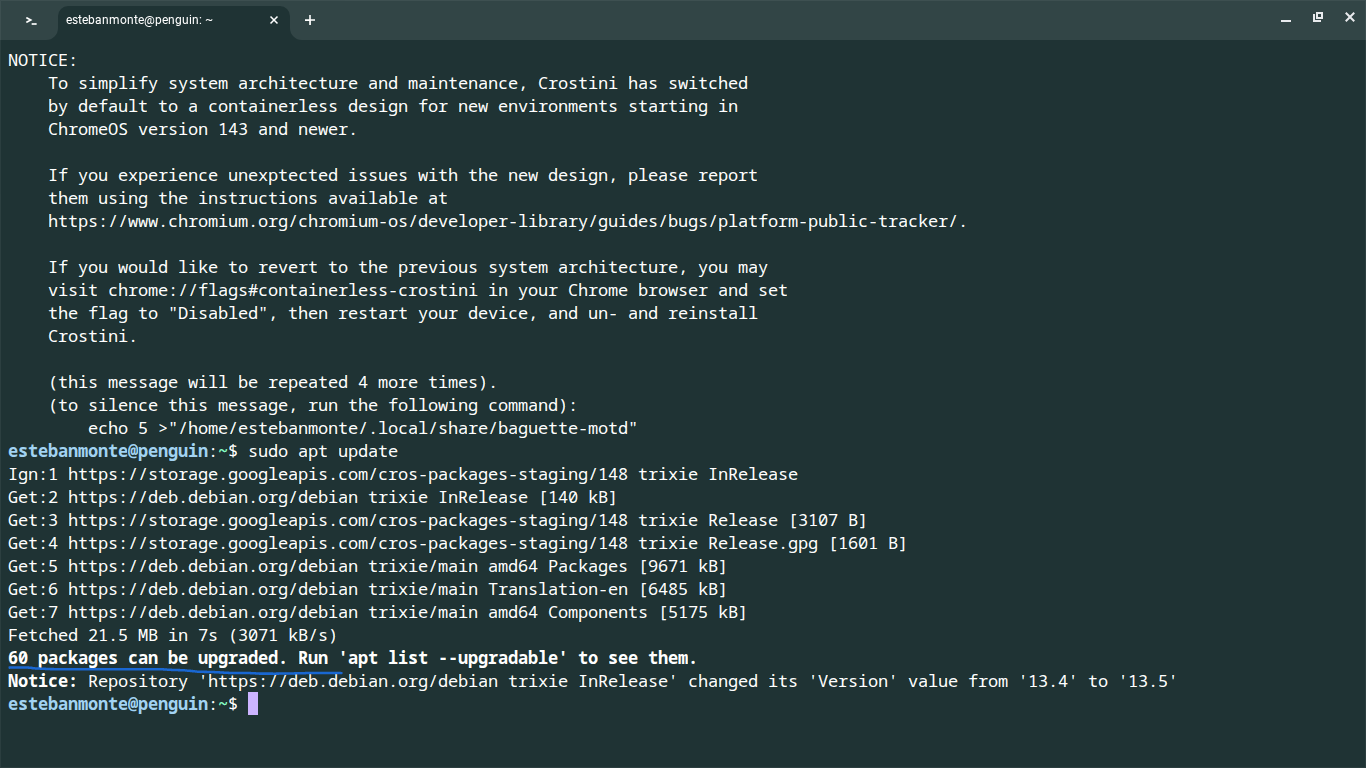
Step 9
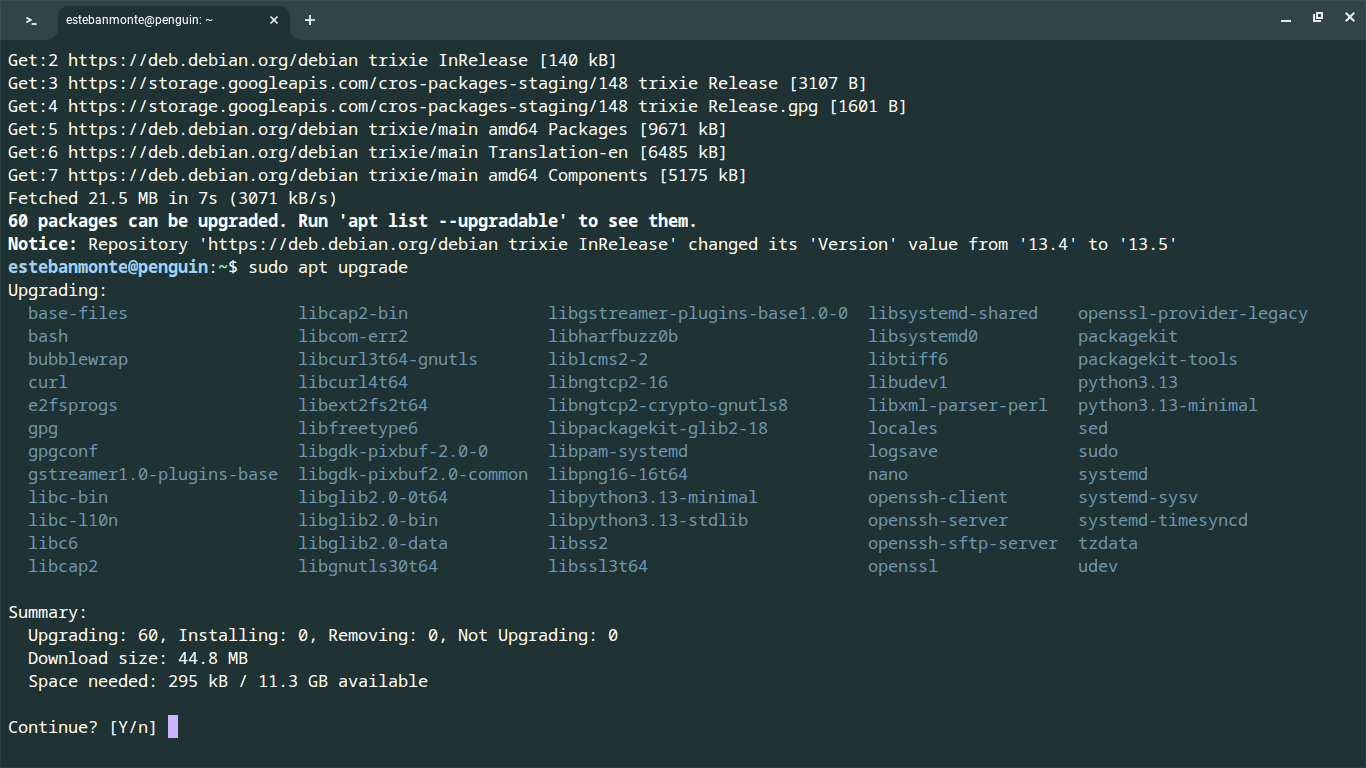
In this step you will type in the terminal:
sudo apt upgradeThen PRESS ENTER, you will see next a list of packages or libraries in Linux Debian that will be updated. See Figure 10
This command will upgrade all the Debian libraries that are not updated.
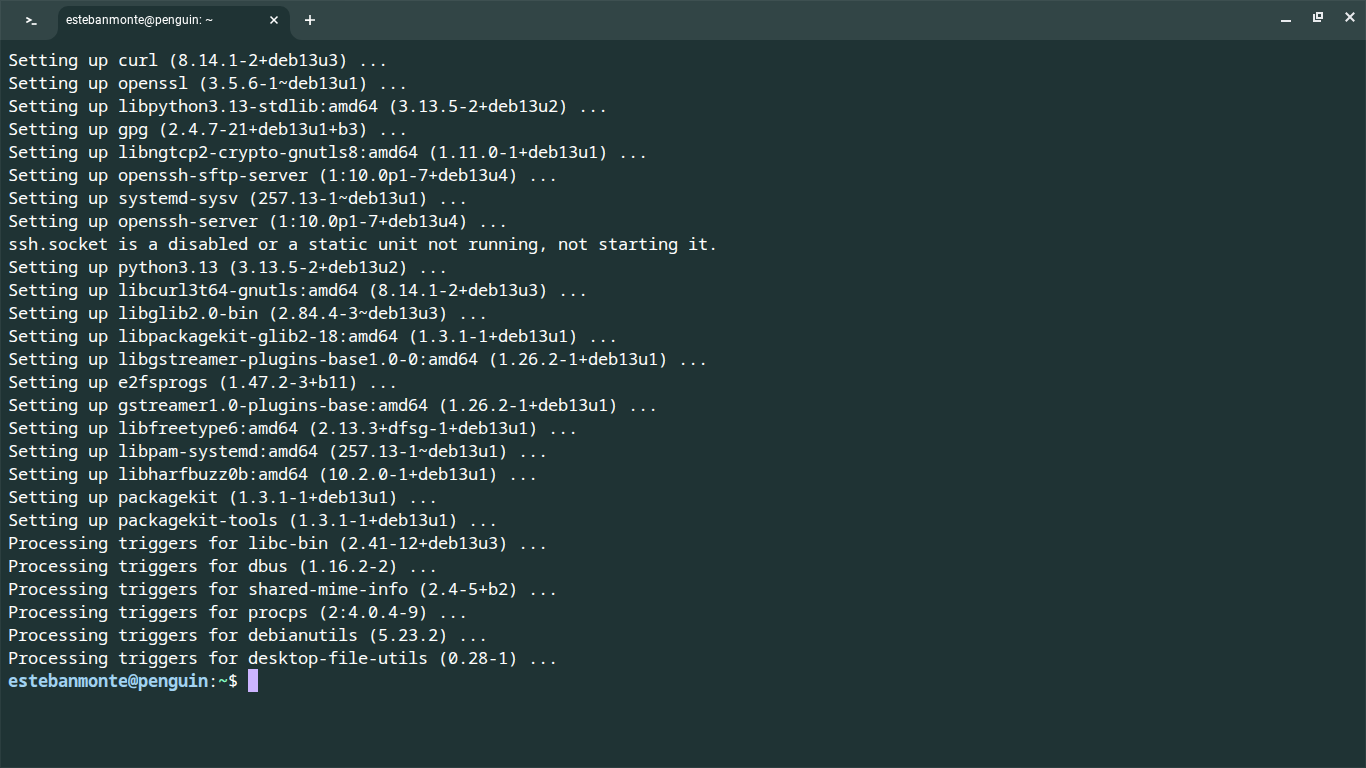
When the actualization is over you will see something similar to this:
Step 10
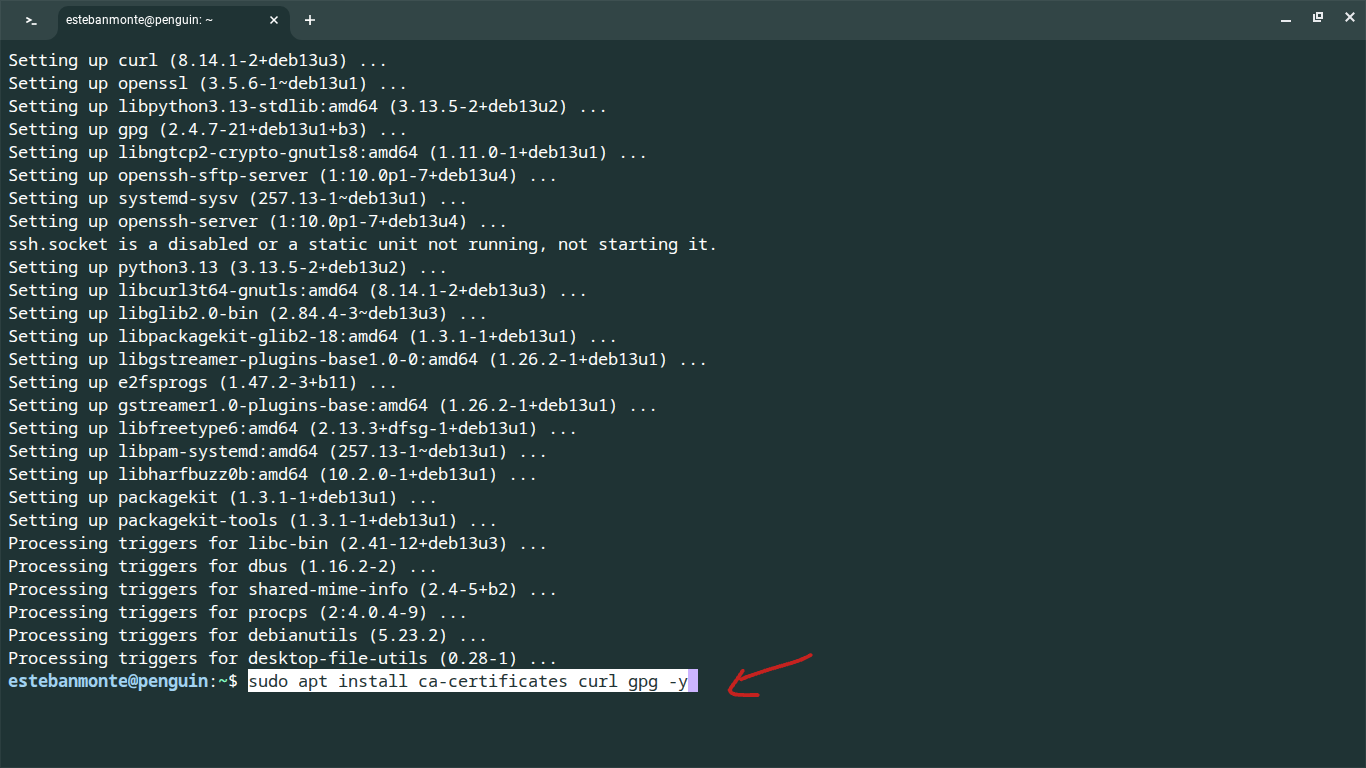
Now we are able to install new Linux libraries that are requiered to install \(R\) and Jamovi. You will need to type in the console the following code and then PRESS ENTER:
sudo apt install ca-certificates curl gpg -yYou can copy the code shown in this tutorial by pressing CTRL + C, and then go to the terminal and press CTRL + SHIFT + V.
Step 11
It is fine if after installing the new libraries you see something like this:
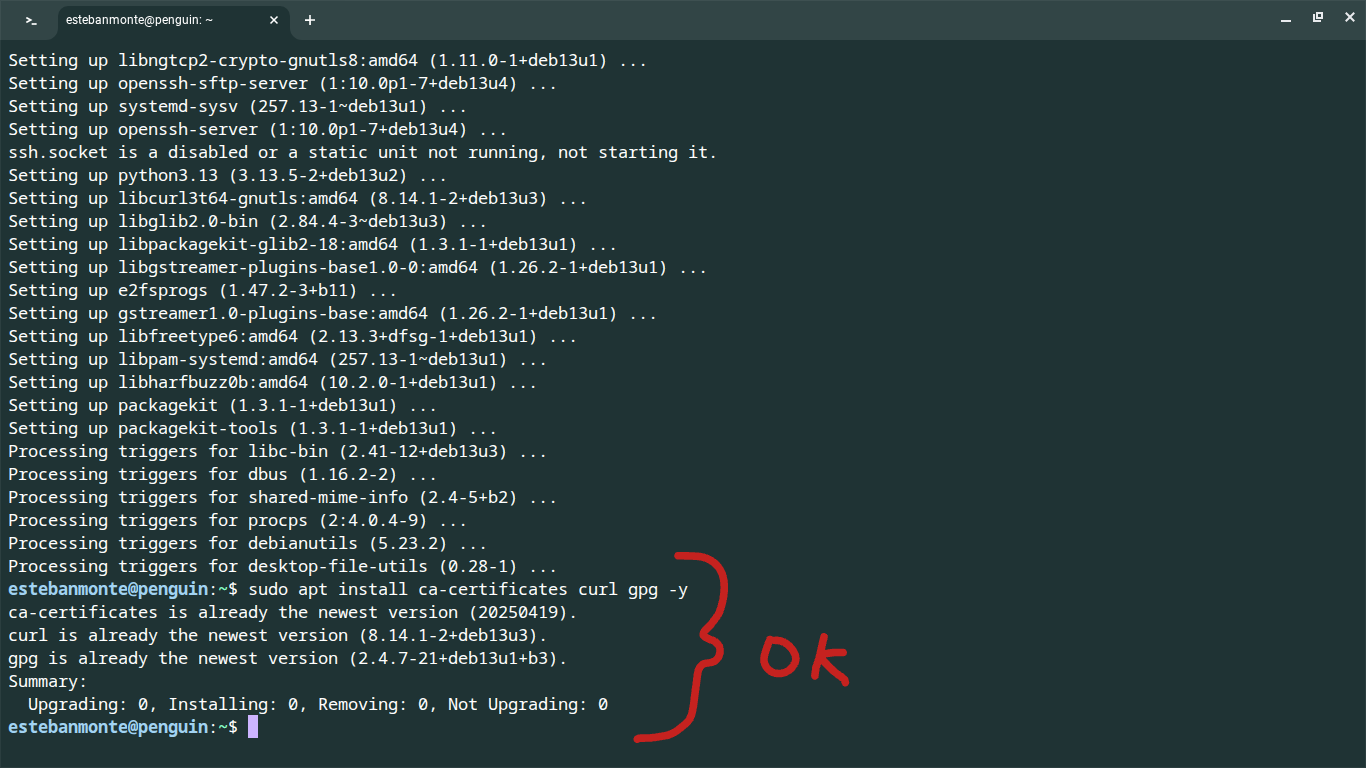
This means that your Debian installation already have those libraries updated which is good.
Step 12
In this step you will need to copy the following code, and paste the code in the terminal, then PRESS ENTER:
curl -fsSL 'https://keyserver.ubuntu.com/pks/lookup?op=get&search=0x95C0FAF38DB3CCAD0C080A7BDC78B2DDEABC47B7' | sudo gpg --dearmor --yes -o /usr/share/keyrings/cran.gpg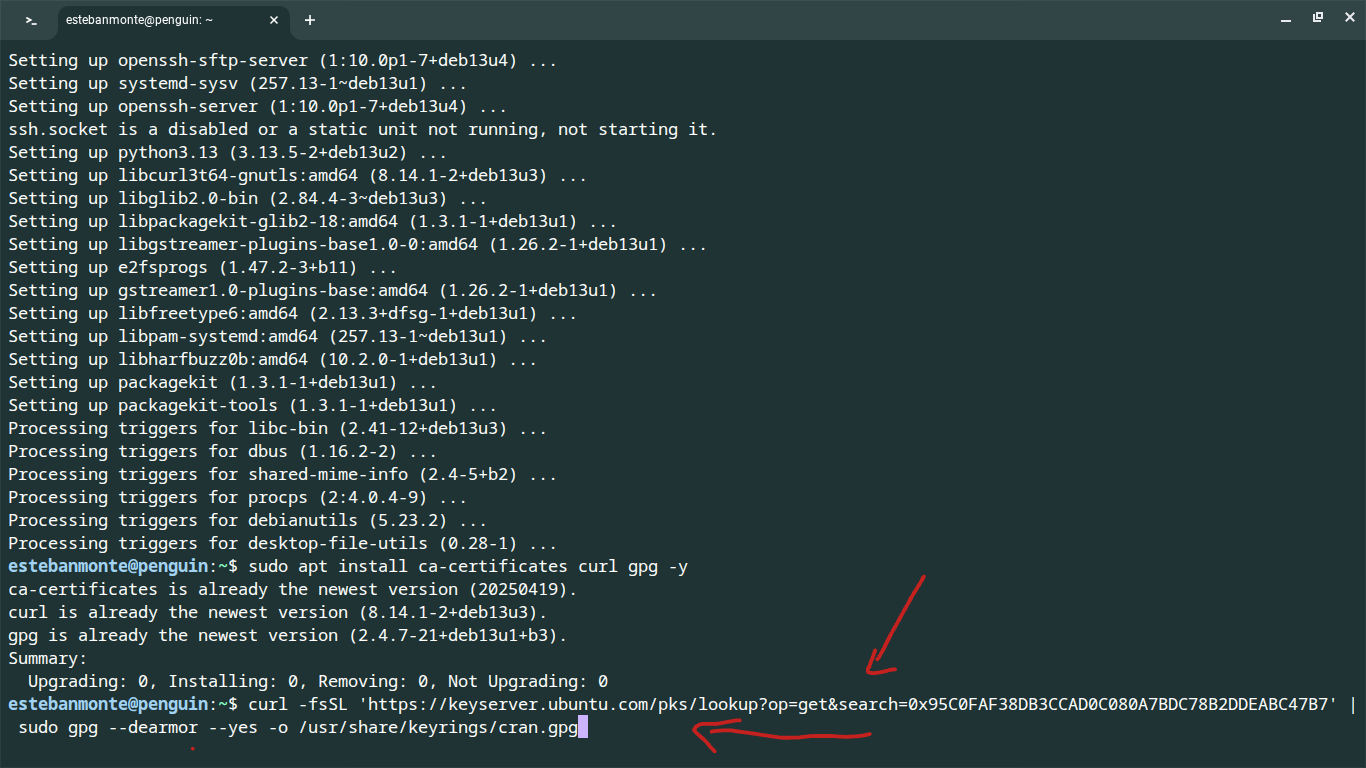
Step 13
In this step, I borrowed some code from this guy, he did a good job providing the following code that you will have to copy , then paste in the terminal, and then PRESS ENTER:
. /etc/os-release
arch="$(dpkg --print-architecture)"

case "${VERSION_CODENAME}:${arch}" in
    trixie:amd64|trixie:arm64) cran_suite="trixie-cran46/" ;;
    bookworm:amd64|bookworm:arm64) cran_suite="bookworm-cran46/" ;;
    bullseye:amd64|bullseye:arm64|bullseye:i386) cran_suite="bullseye-cran40/" ;;
    *)
        printf 'This CRAN Debian repository method supports Debian 13 and 12 on amd64 or arm64, and Debian 11 on amd64, arm64, or i386.\n' >&2
        cran_suite=""
        ;;
esac

if [ -n "$cran_suite" ]; then
    printf '%s\n' \
    "Types: deb" \
    "URIs: https://cloud.r-project.org/bin/linux/debian/" \
    "Suites: ${cran_suite}" \
    "Components:" \
    "Architectures: ${arch}" \
    "Signed-By: /usr/share/keyrings/cran.gpg" | sudo tee /etc/apt/sources.list.d/cran.sources > /dev/null
else
    false
fi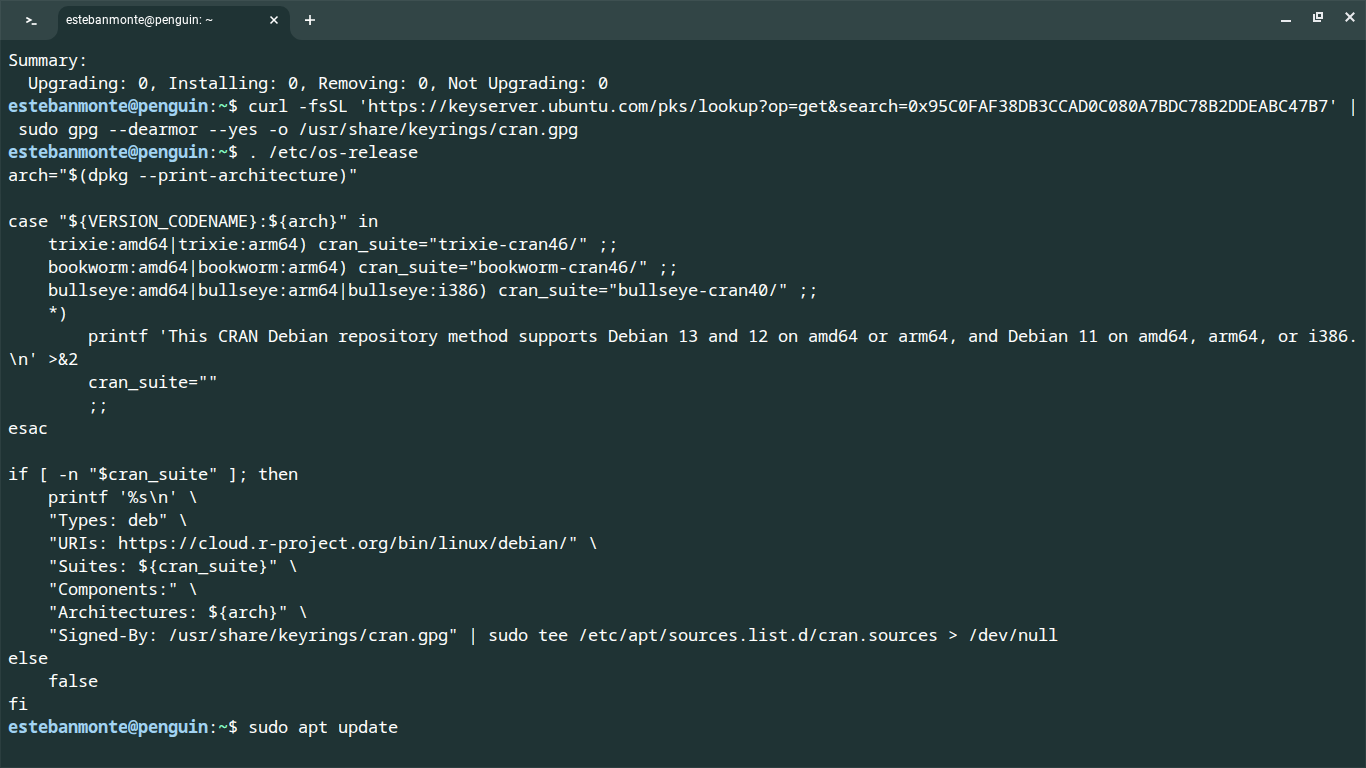
Step 14
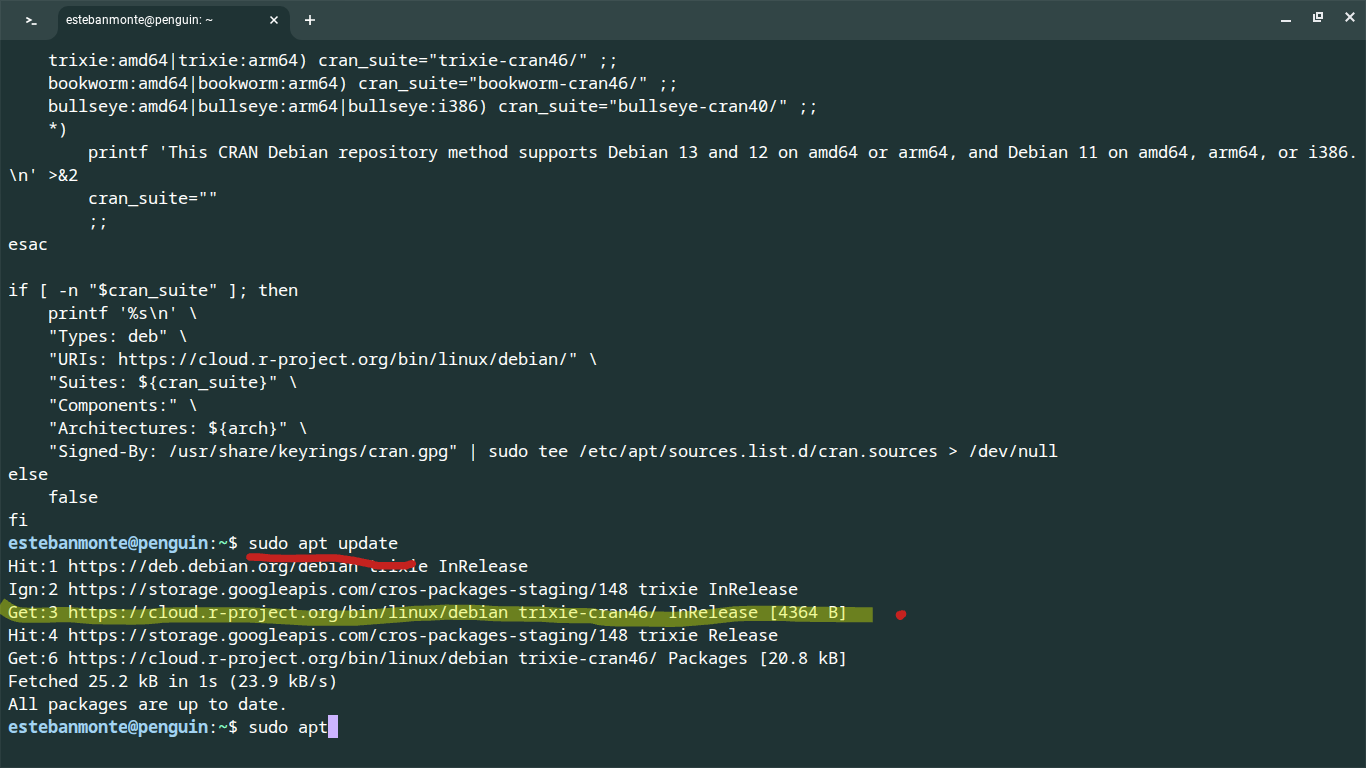
In this step we need to update again our reporsitories and the communication with the repositories, type or copy the code below and then press enter in the terminal:
sudo apt updateAfter pressing enter, the terminal should display something similar to this picture:
Step 15
In this step we are now ready to install R in your Linux Debian virtual computer, type or paste this code in the terminal:
sudo apt install r-base r-base-dev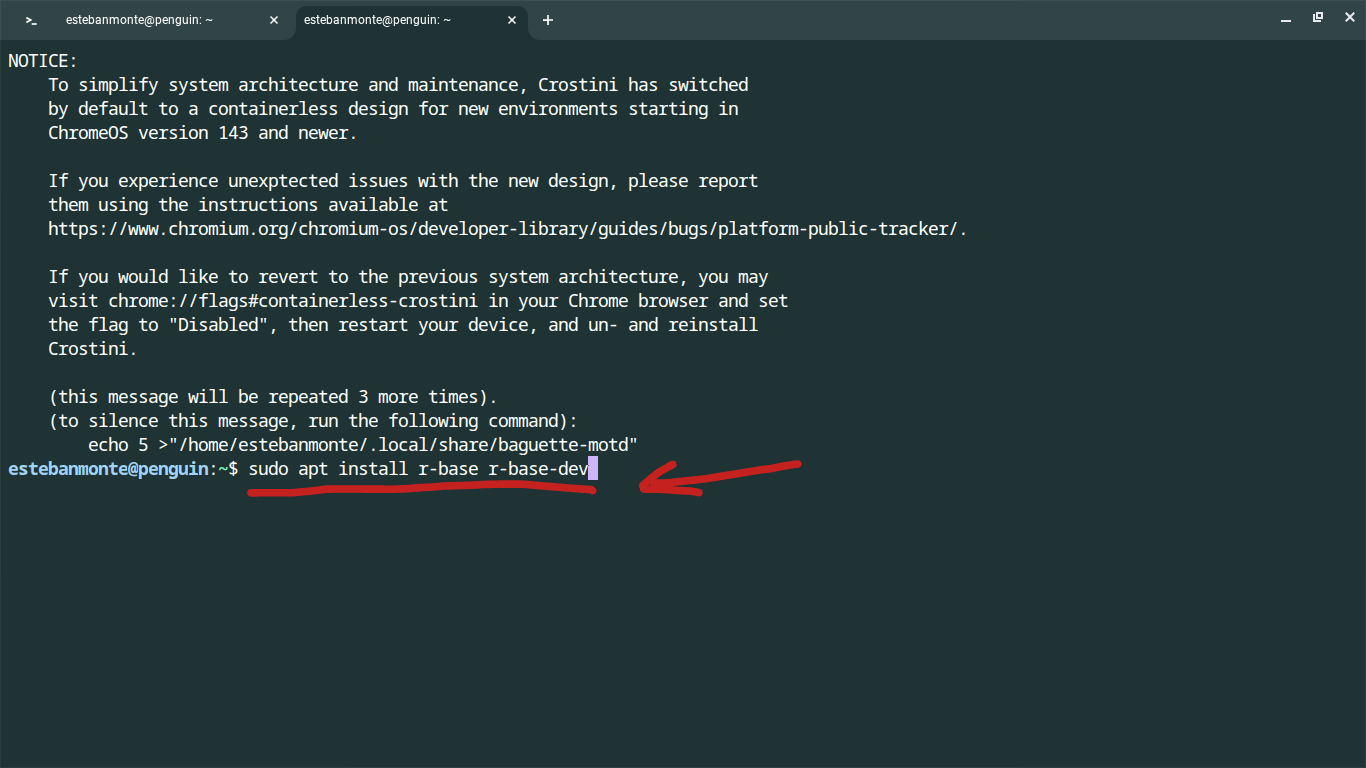
R
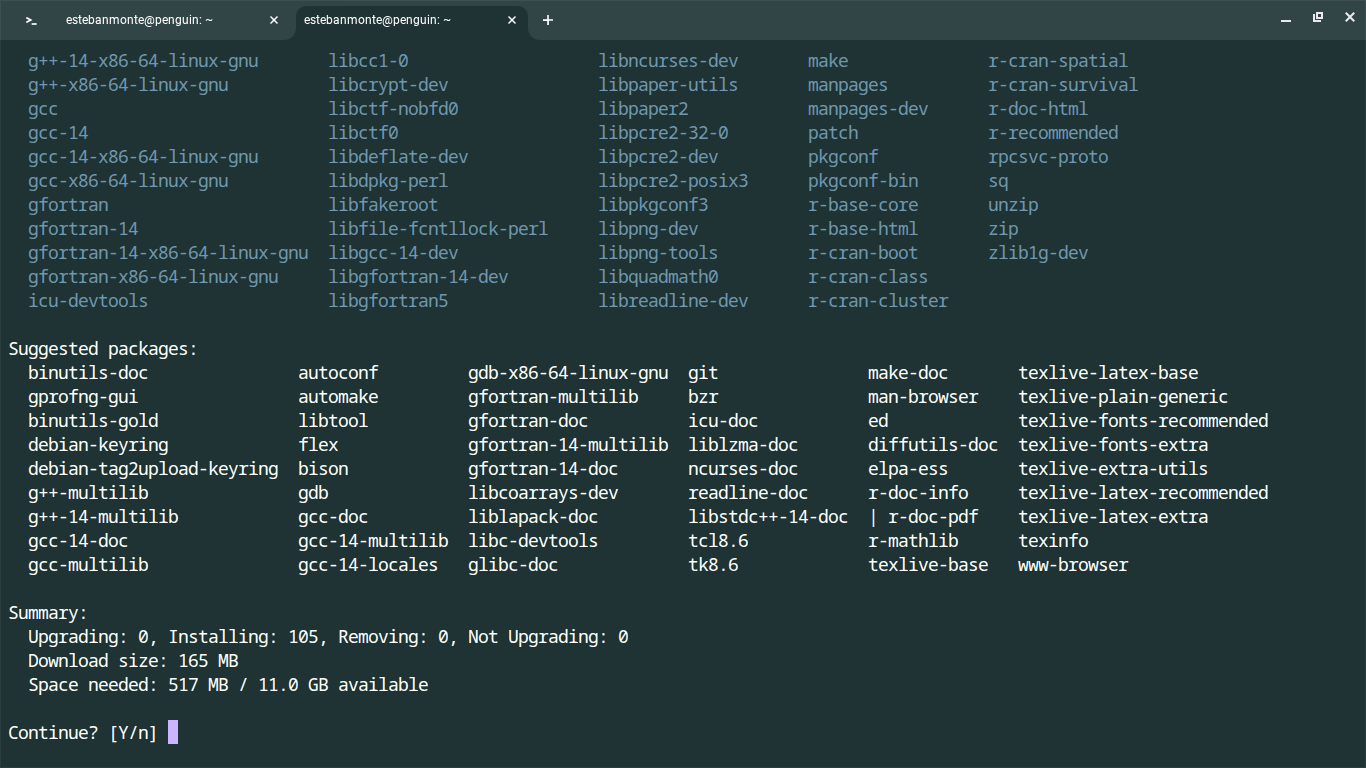
After pressing enter, you will see a list of packages and a question to approve the installation, PRESS ENTER when you see this:
R
Step 16
At this point R should be installed and working fine, let’s check if this is true. Type the uppercase letter “R” in the terminal, this should open R in your terminal:
R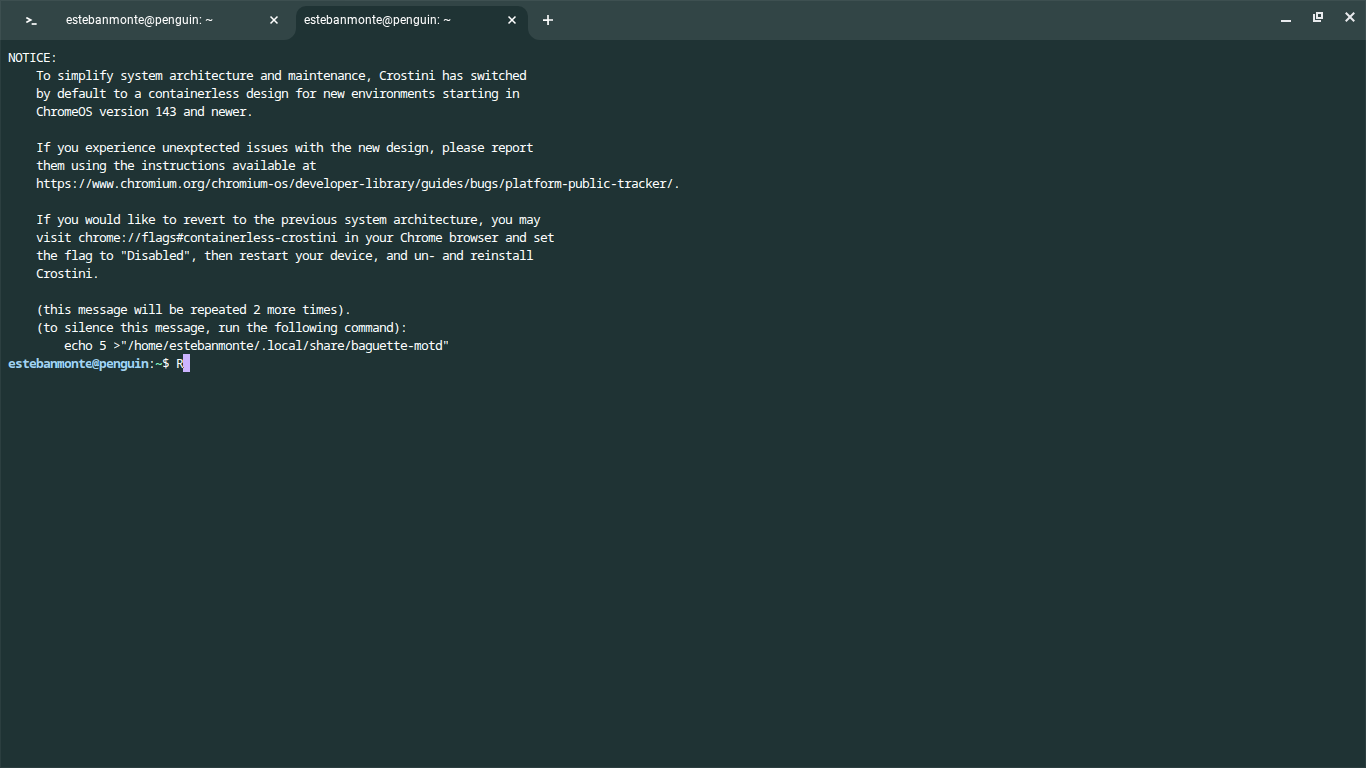
R in terminal
If R is running fine in your Linux enviorenment, you should see something like this:
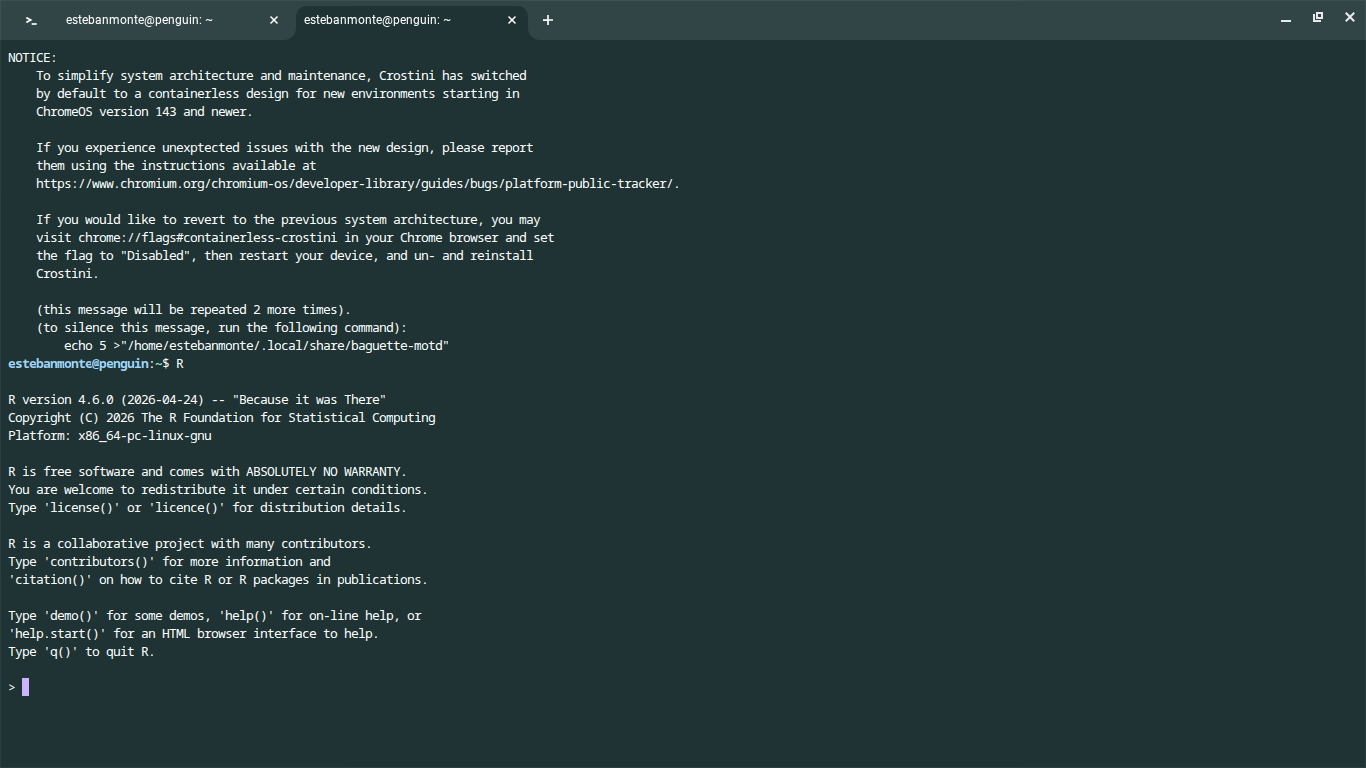
R in terminal
Installing RStudio
RStudio is an Integrated Development Environment (IDE), this means RStudio is an interface that helps to write code faster. It supports R but also supports Python and other languages such as Julia. In this course we will focus on R but I hope some day I can add other useful programming languages.
Step 1
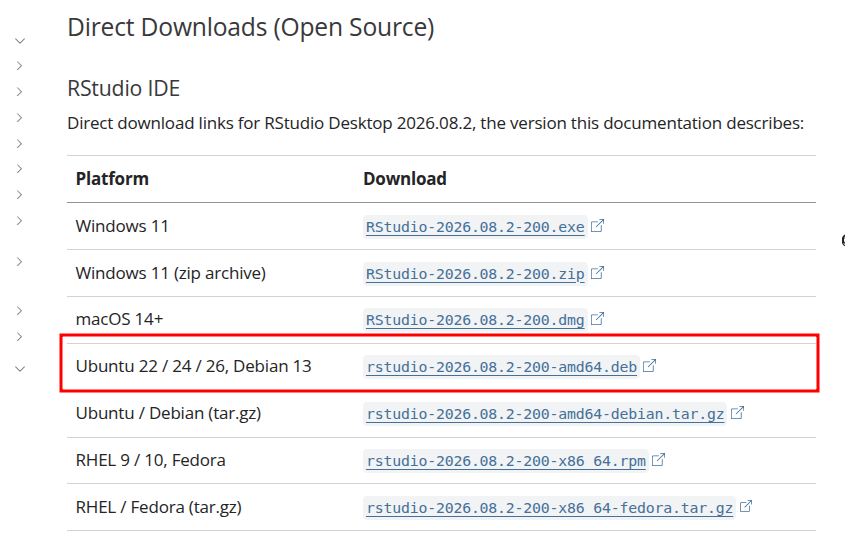
To install RStudio you’ll need to click HERE, once you are in the webpage download the file corresponding to Ubuntu 22 / 24, Debian 12 / 13, you will click where it says: rstudio-2026.05.0-218-amd64.deb, the version numbers might change by the time you try to install it, but the process is the same.
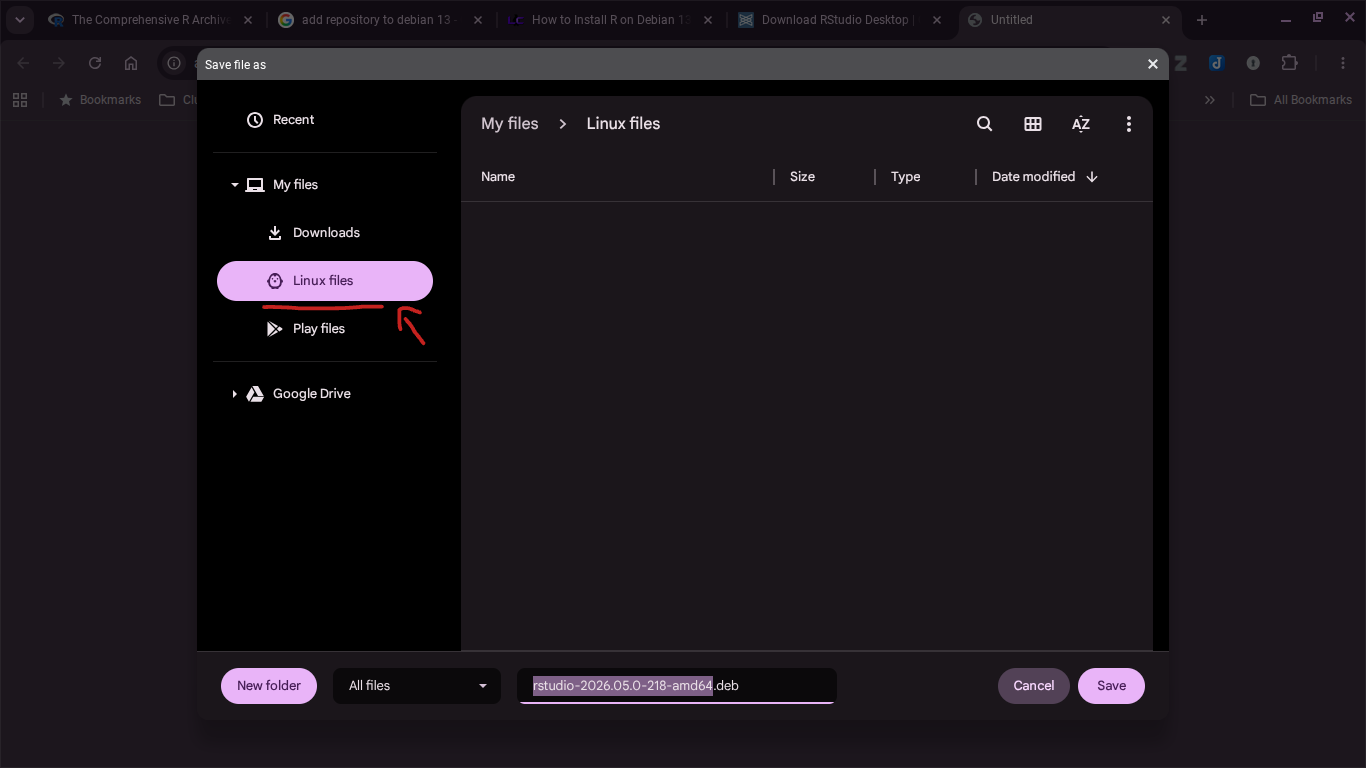
Save the file in the folder named “Linux files” as shown in the picture below, if you save it in another folder you will be able to drag the RStudio installer to the “Linux files” folder.
Step 2
Go to the Linux terminal and then type:
sudo apt install ./rstudio-2026.05.0-218-amd64.debThis code will install the RStudio, however if you get any error skip this step and go to the next step.
Step 3
In the Linux terminal type:
sudo apt install libnspr4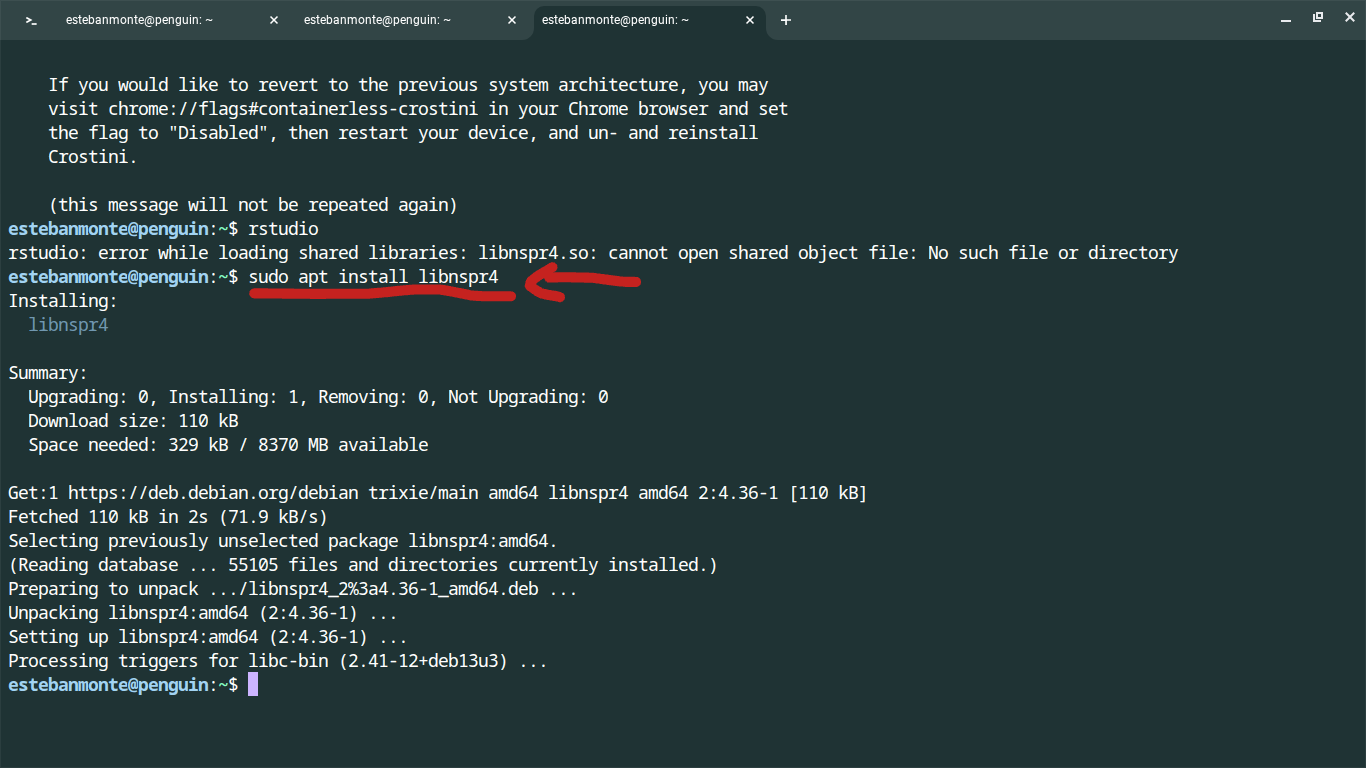
Step 4
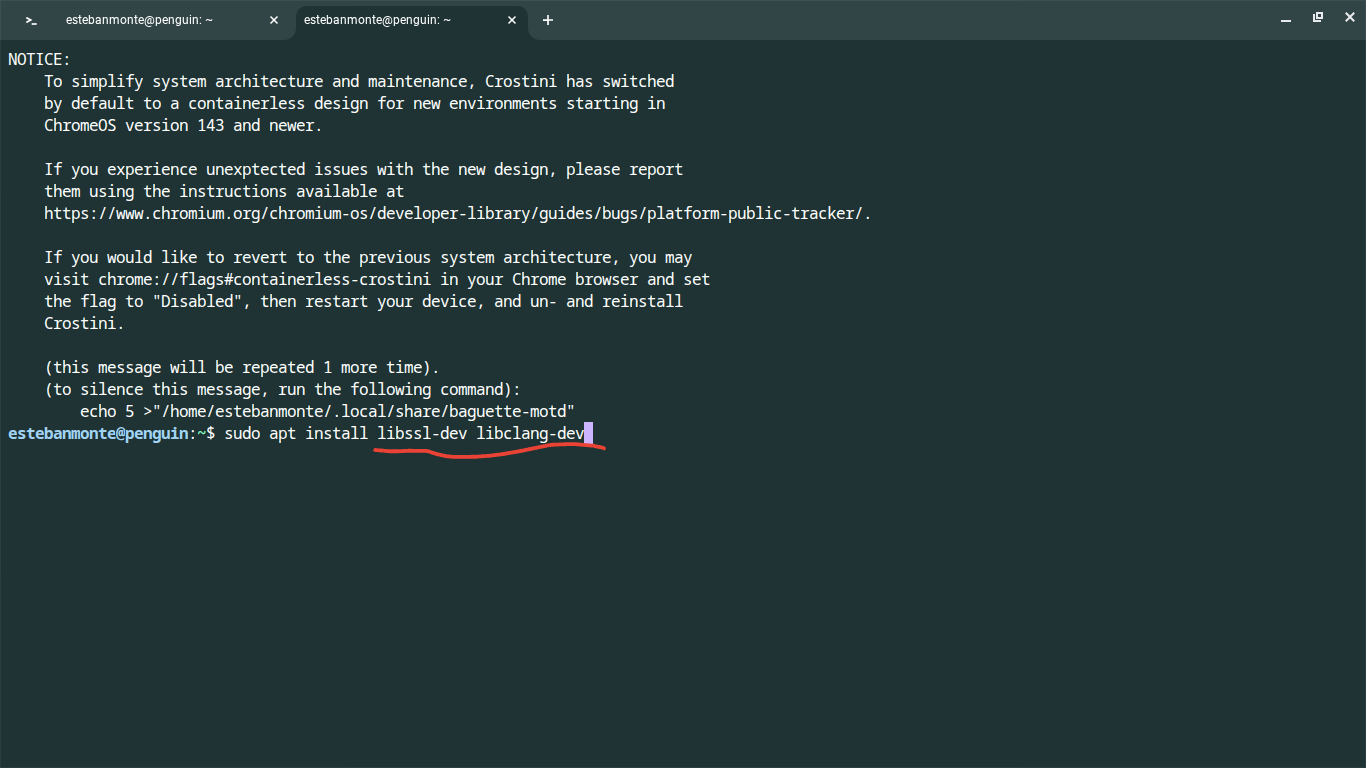
In the Linux terminal type:
sudo apt install libssl-dev libclang-dev libnspr4 libnss3 libuv1-devThese are necessary libraries to install packages in R.
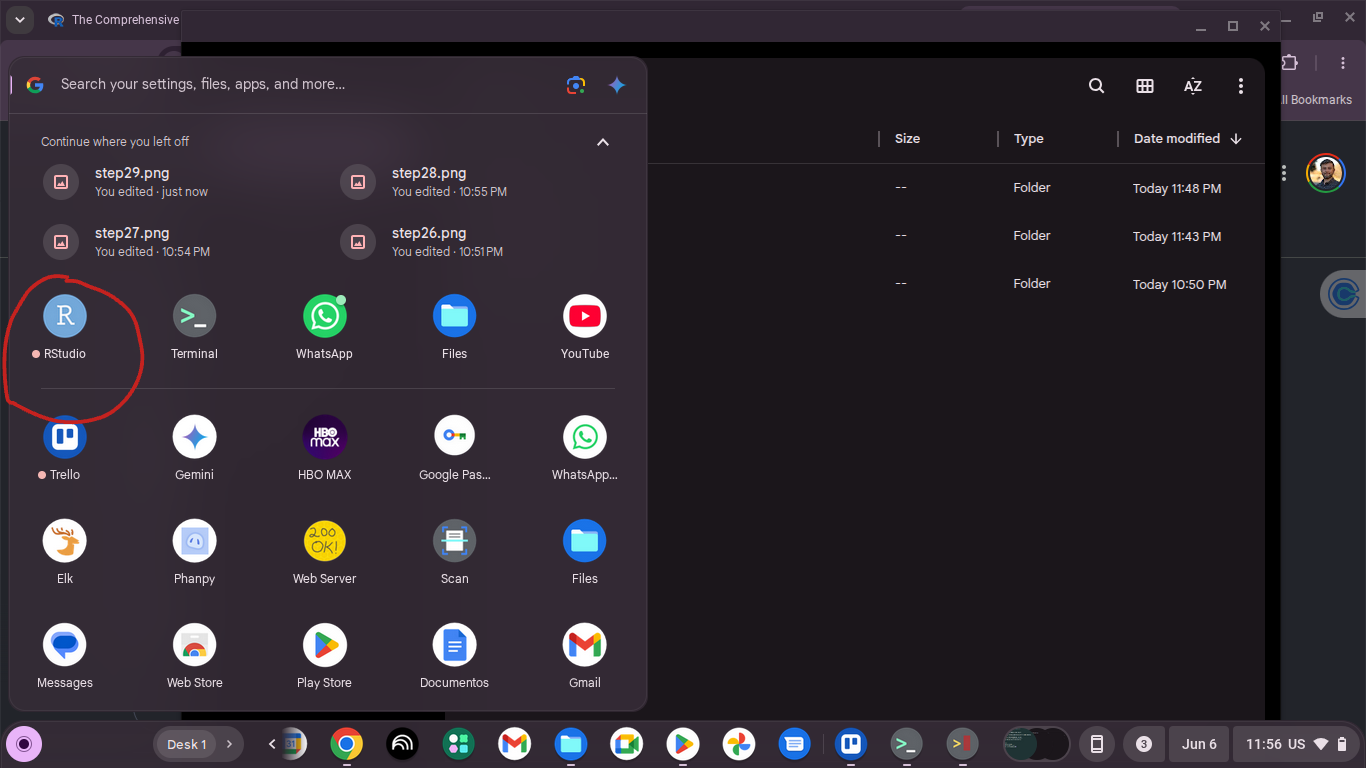
Step 5
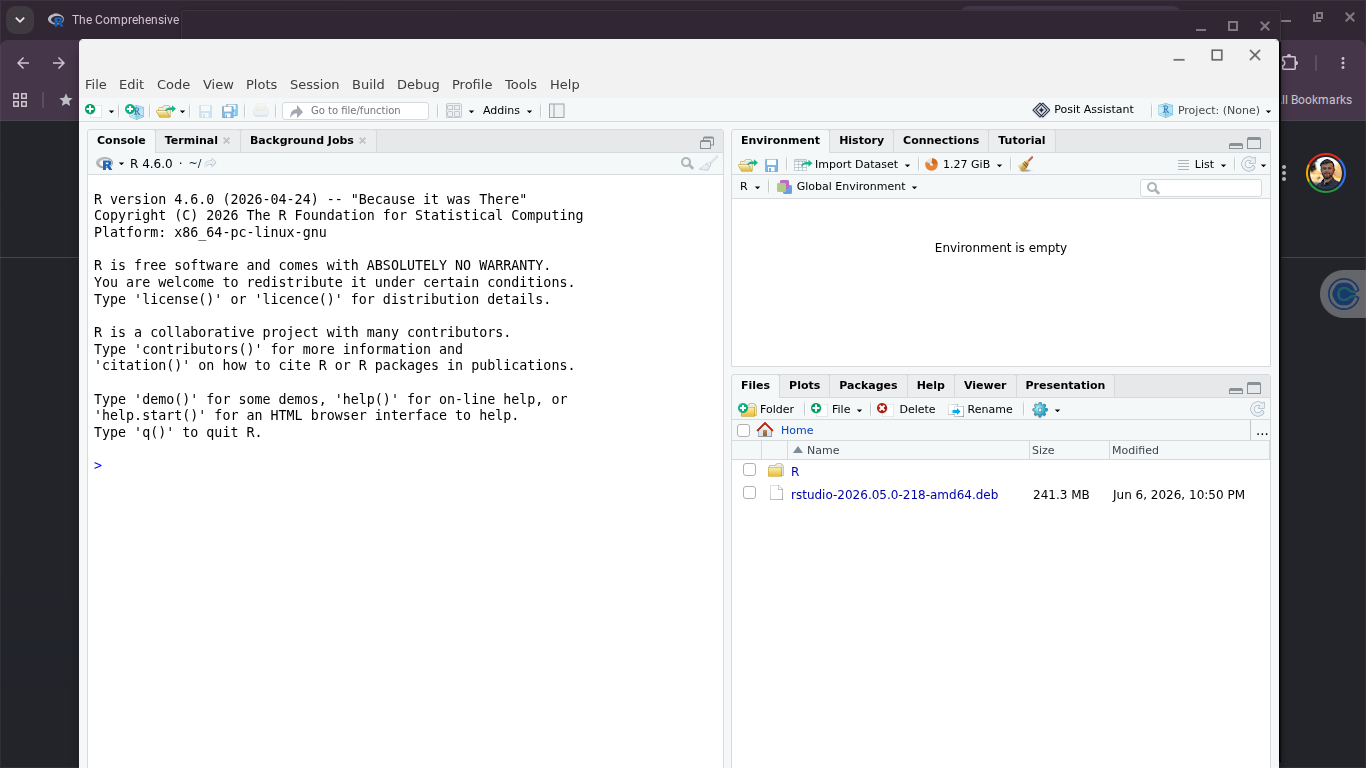
Now you should have an icon on your menu to get access to RStudio, this is the icon you will click to start working on your assingments:
After clicking on the Rstudio icon you should see RStudio opened:
There are computer in the market that are provided with an ARM processor. This type of processor requieres a different installer for RStudio, however Posit does not provide an installer for this type of processor.
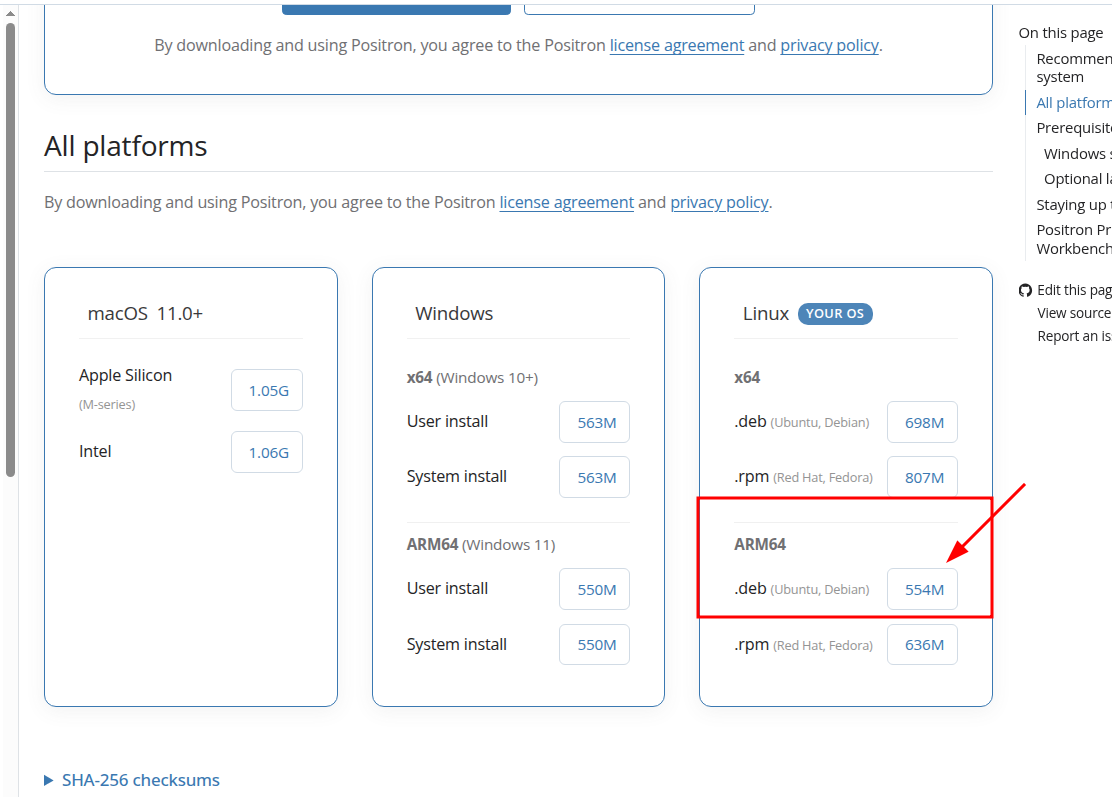
Your computer might have this ARM processor, therefore this course will transition to use the IDE called Positron which provides an installer for ARM processors.
Step 1:
Go to this link and download the Positron installer for Linux ARM4 –> .deb (Ubuntu,Debian).
Remember to save the file in your Linux folder.
Step 2:
Go to the Linux terminal and type:
sudo apt install ./Positron-2026.09.1-2-arm64.debPress enter or “Y” when you are prompt to answer.
Step 3:
If everything looks fine you should find the following icon in your main menu:

Click on that icon, then you will see a programm that looks like this:
Installing Quarto
The last software you will need to install is Quarto. Quarto is a software that works like an “add-on” in RStudio.
Quarto will help you to create reports in pdf, Word , or HTML formats.
Step 1
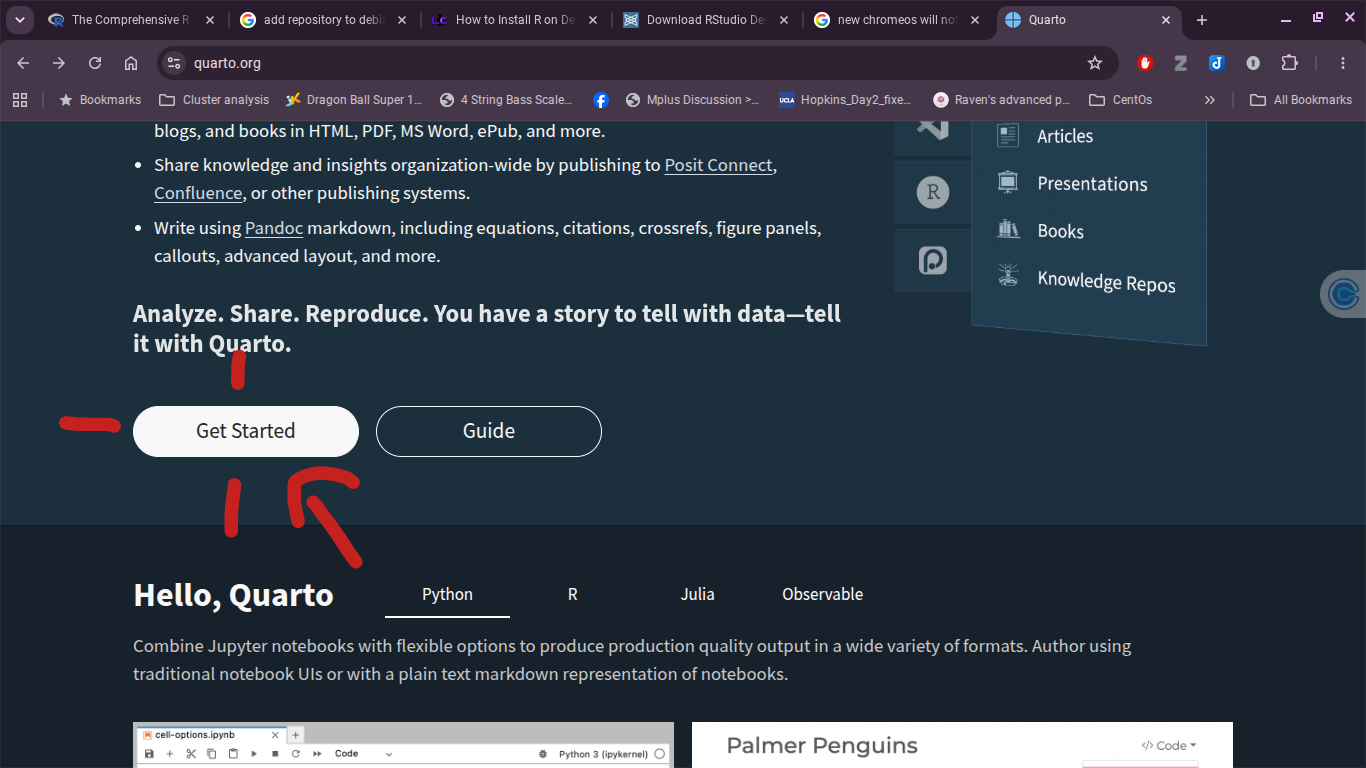
Go to quarto.org and then click on “Get Started”:
Step 2
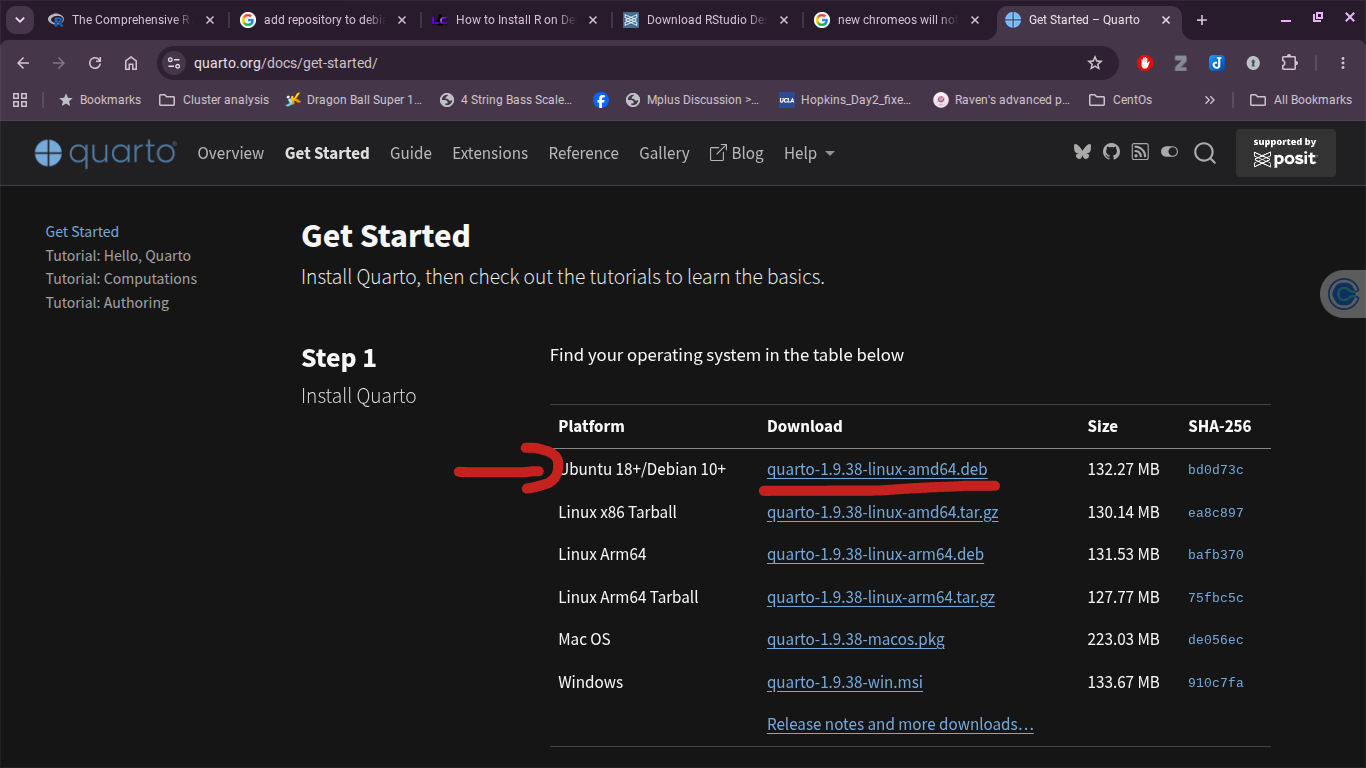
Click on the installer for Debian 10+, typically the name of the file will be similar to: quarto-1.9.38-linux-amd64.deb. See the picture below:
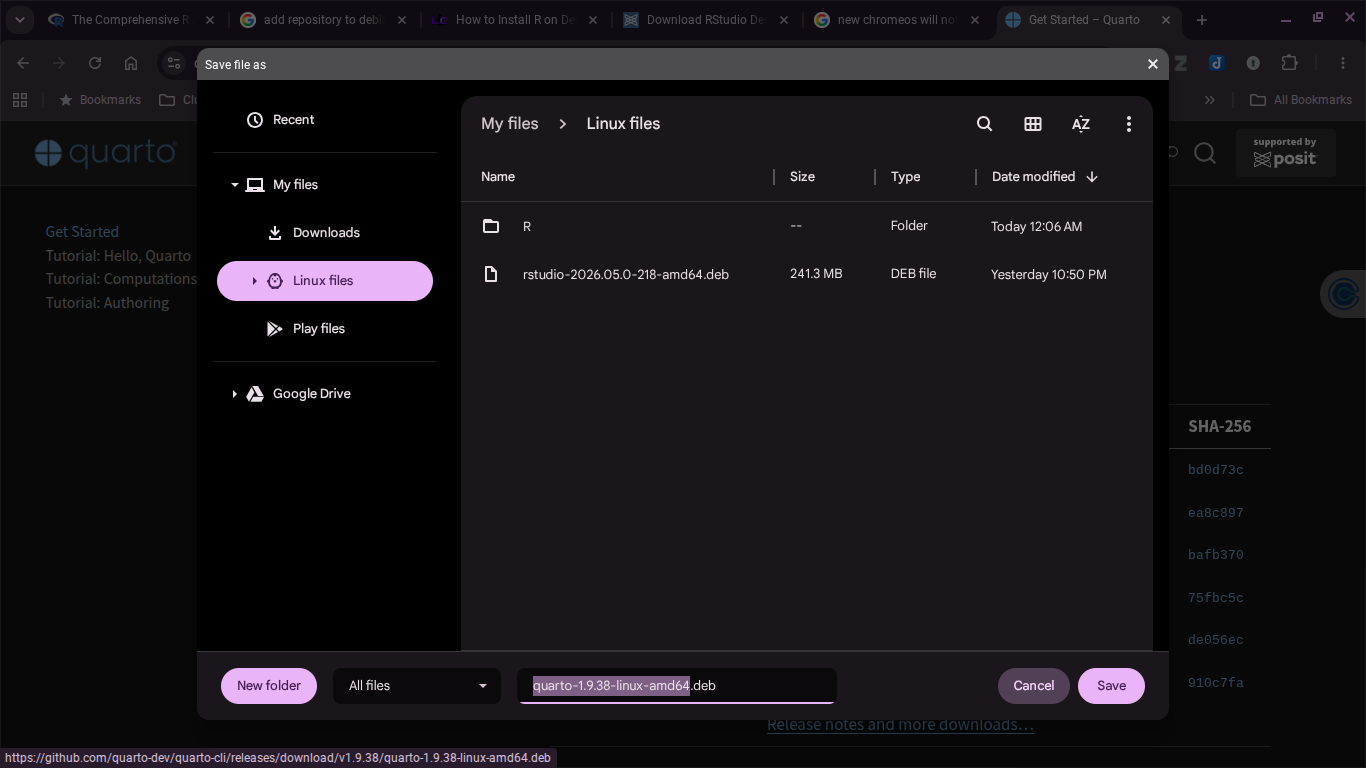
Then save the Quarto installer in the “Linux files” folder:
Step 3
Open the Linux terminal and then type:
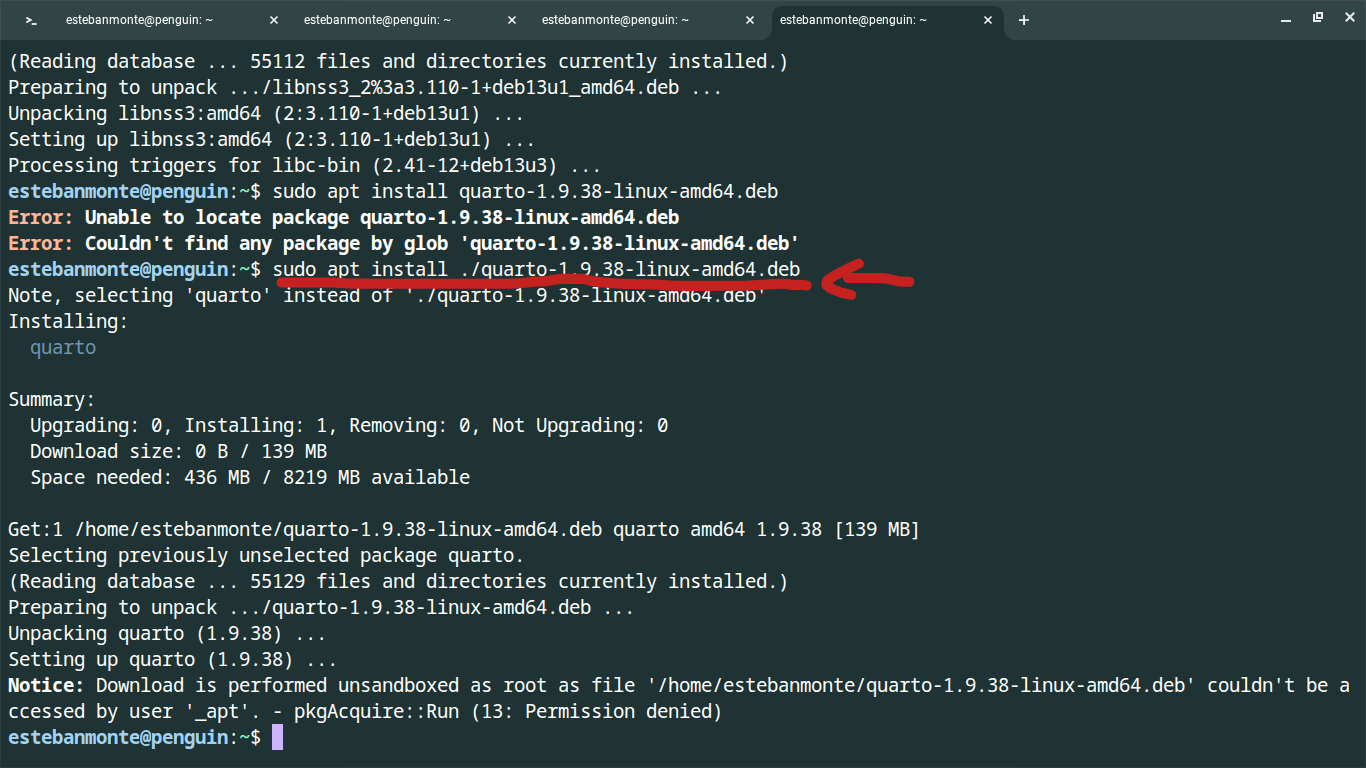
sudo apt install ./quarto-1.9.38-linux-amd64.debThe name of the Quarto installer might be different from the name displayed in this tutorial, double check that you are typing the file name correctly.
Installing JAMOVI
In this course we will also use JAMOVI. This is a free open source software versy similar to SPSS where you can click the options you need, it does not requiere to write any syntax. JAMOVI is running R behind scene.
To install JAMOVI in your Linux virtual computer, you’ll need to install a software named flatpak.
Step 1
Go to the Linux terminal and then type:
sudo apt install flatpak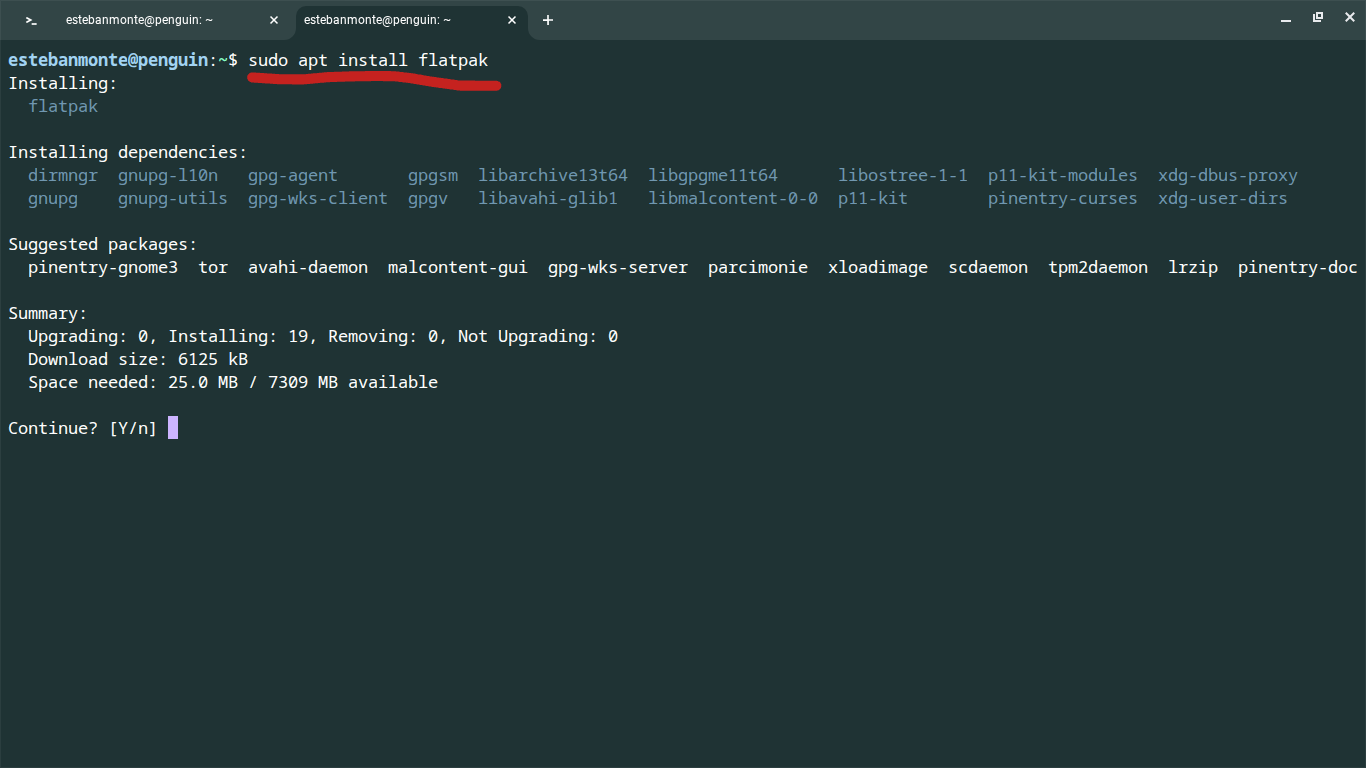
Step 2
In the Linux terminal type:
sudo flatpak remote-add --if-not-exists flathub https://dl.flathub.org/repo/flathub.flatpakrepo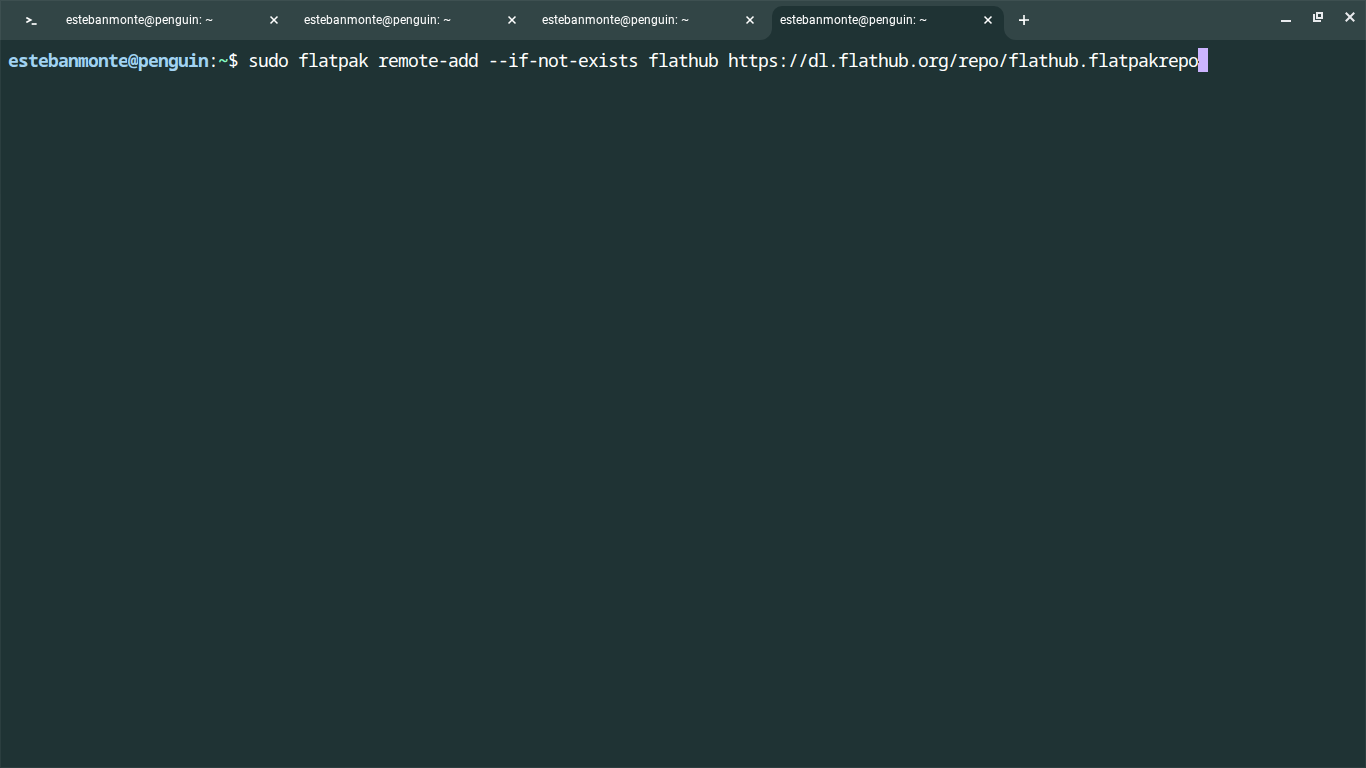
This command will add the repository where you will download JAMOVI.
Step 3
Again, in the Linux terminal type:
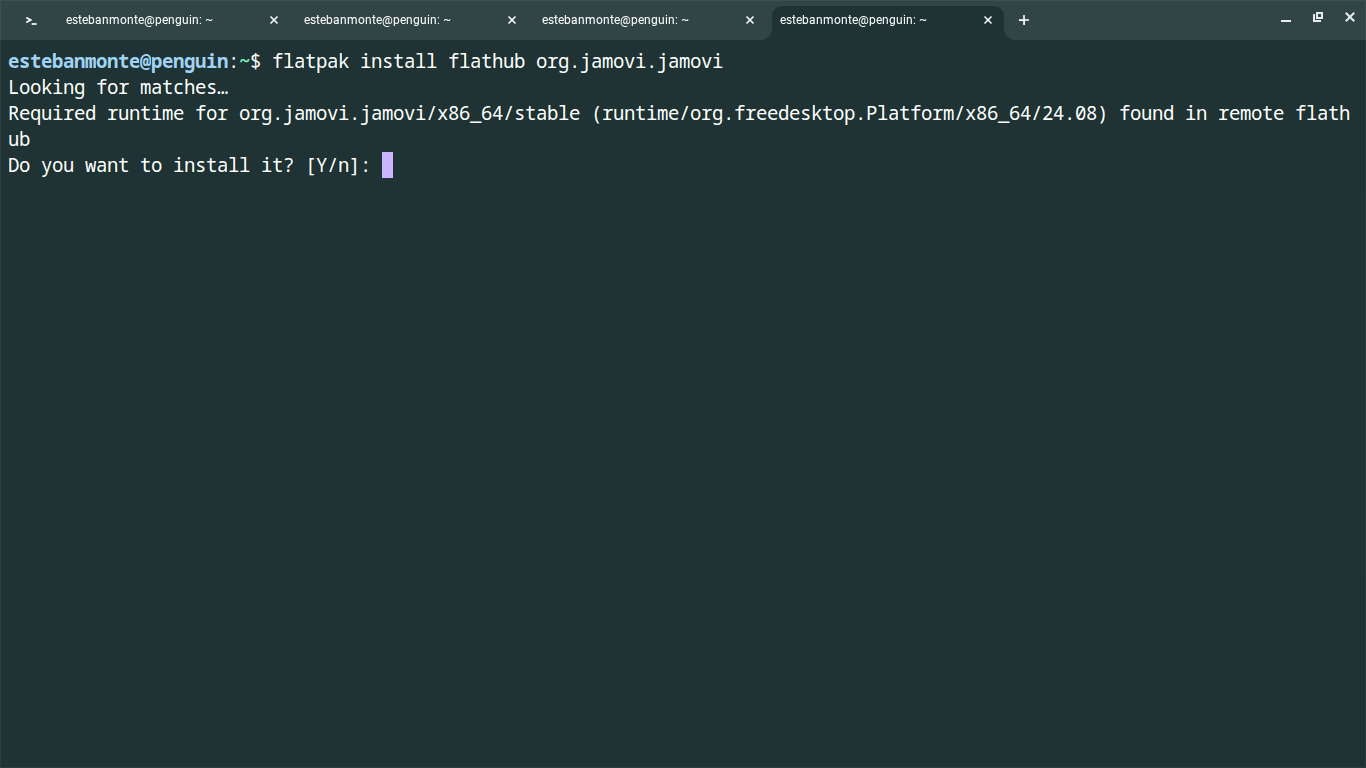
flatpak install flathub org.jamovi.jamoviThis command will install JAMOVI in your computer.
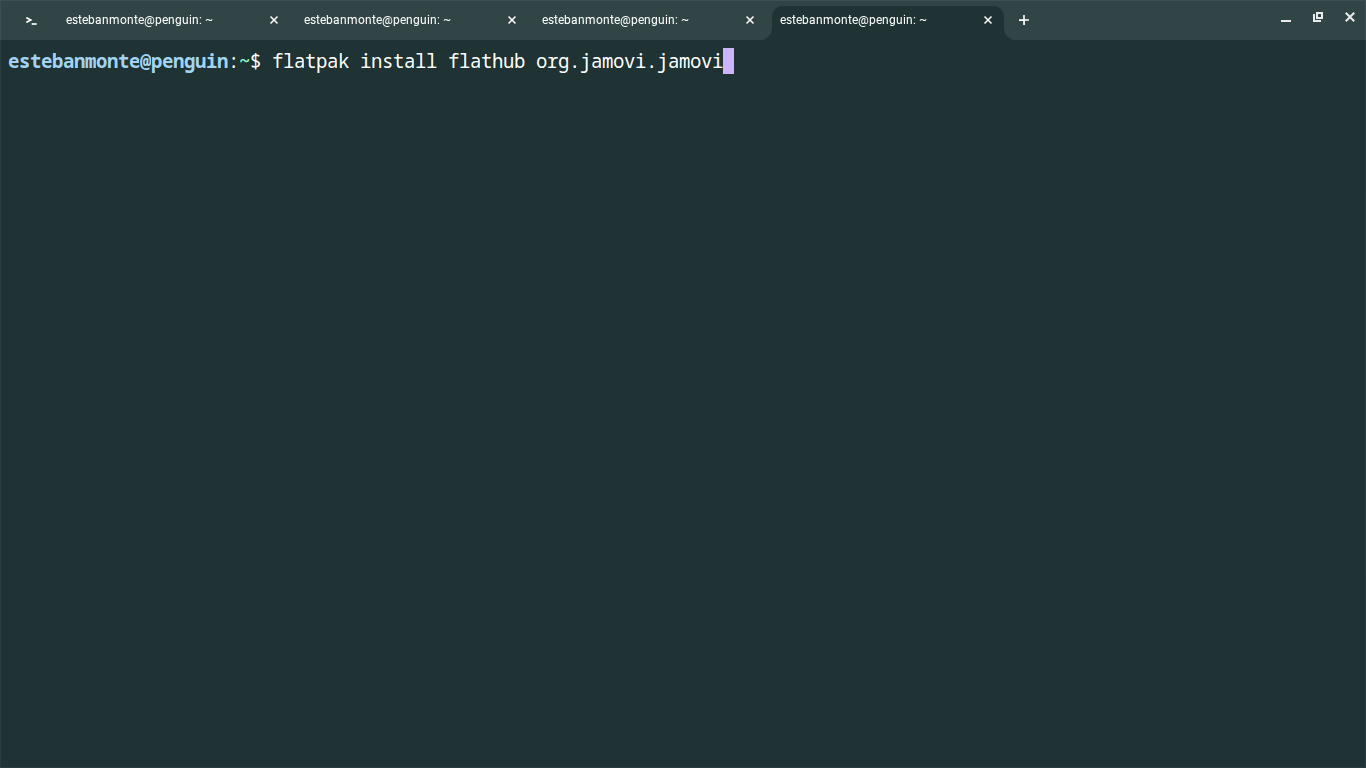
CLICK enter or press “Y” to continue:
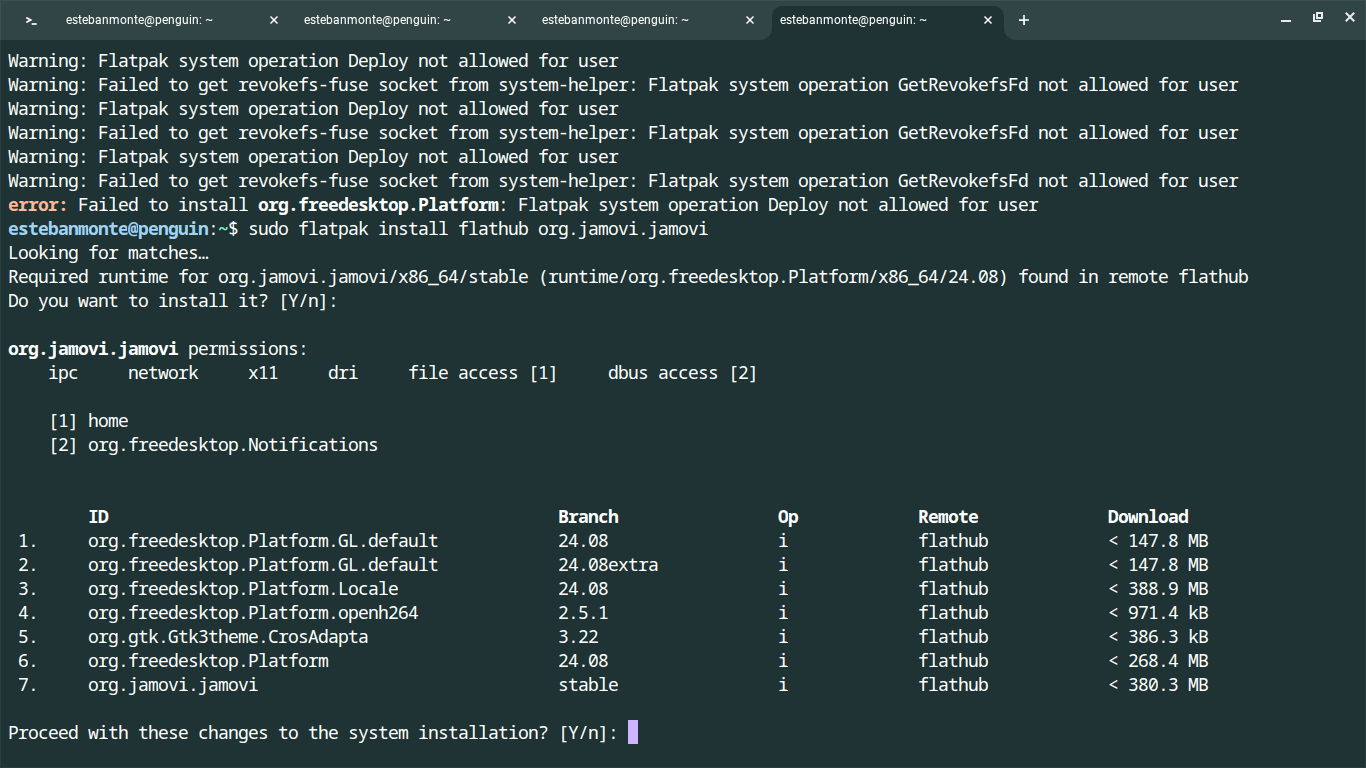
Then type “Y” of press enter in the next question:
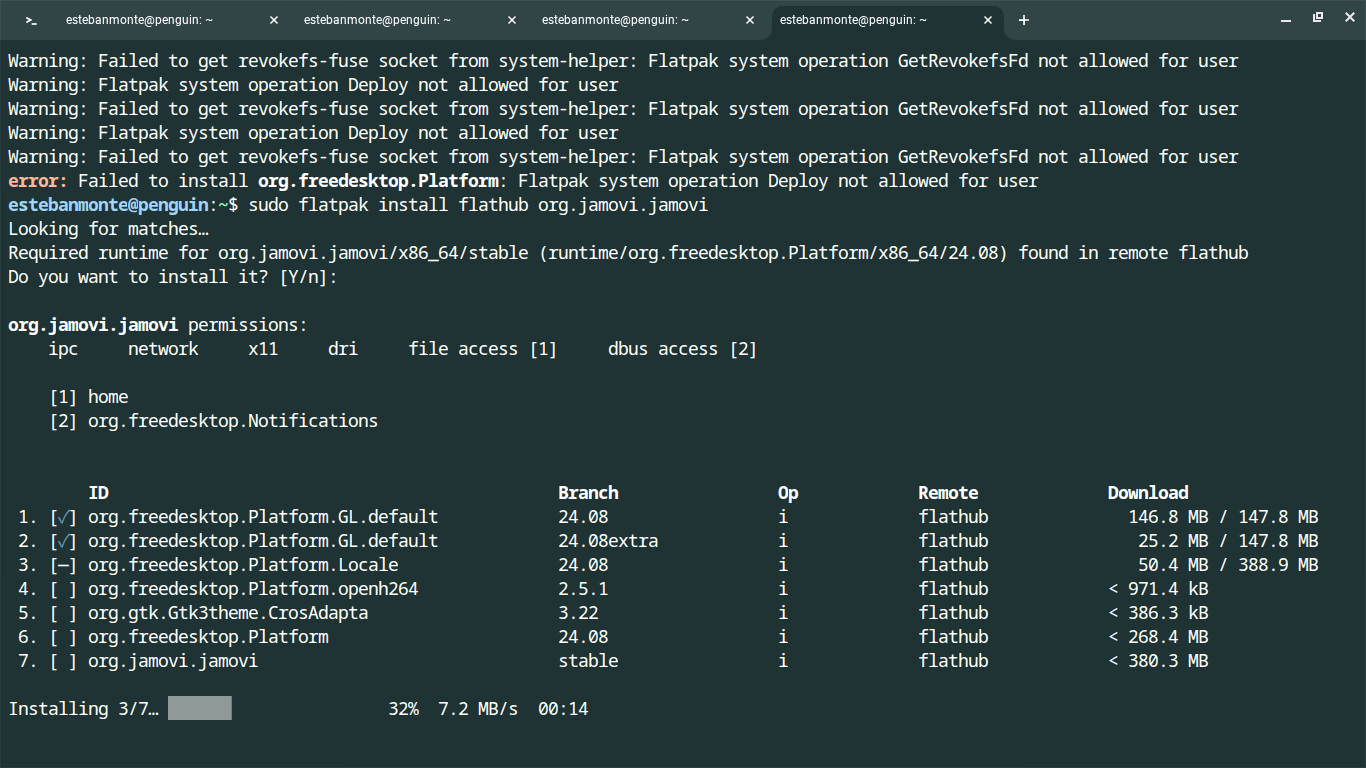
After approving the changes you will see something like this:
Step 4
You should now have an icon on your main menu where you can click and open JAMOVI: